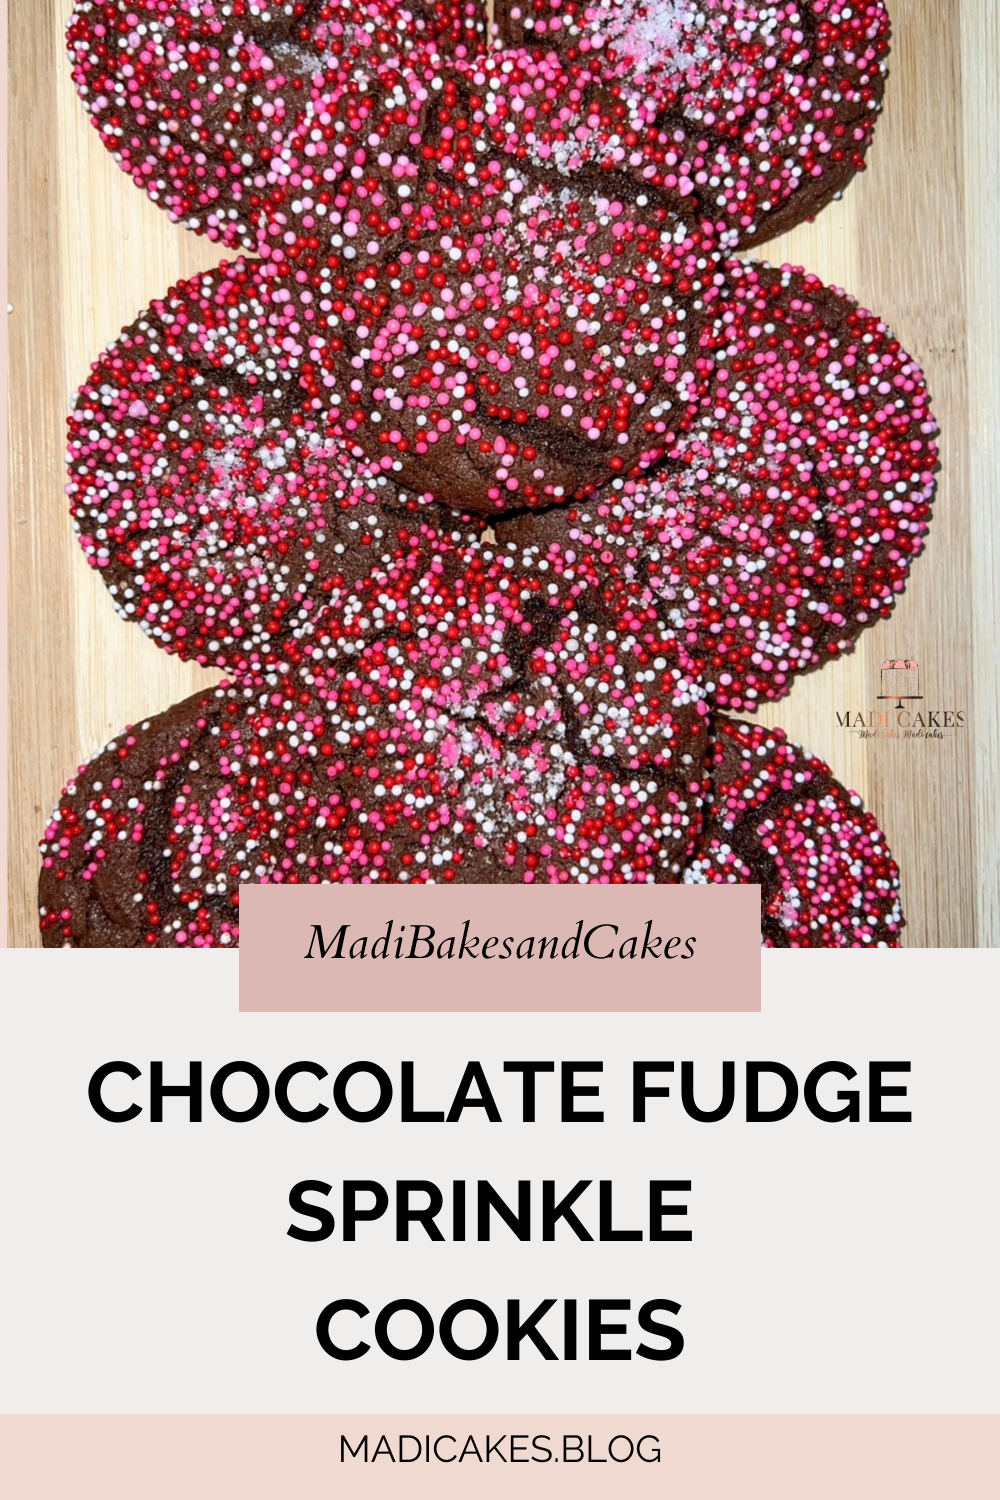
We are kicking off the Valentine’s Day season with one of my FAVORITE cookie recipes, […]
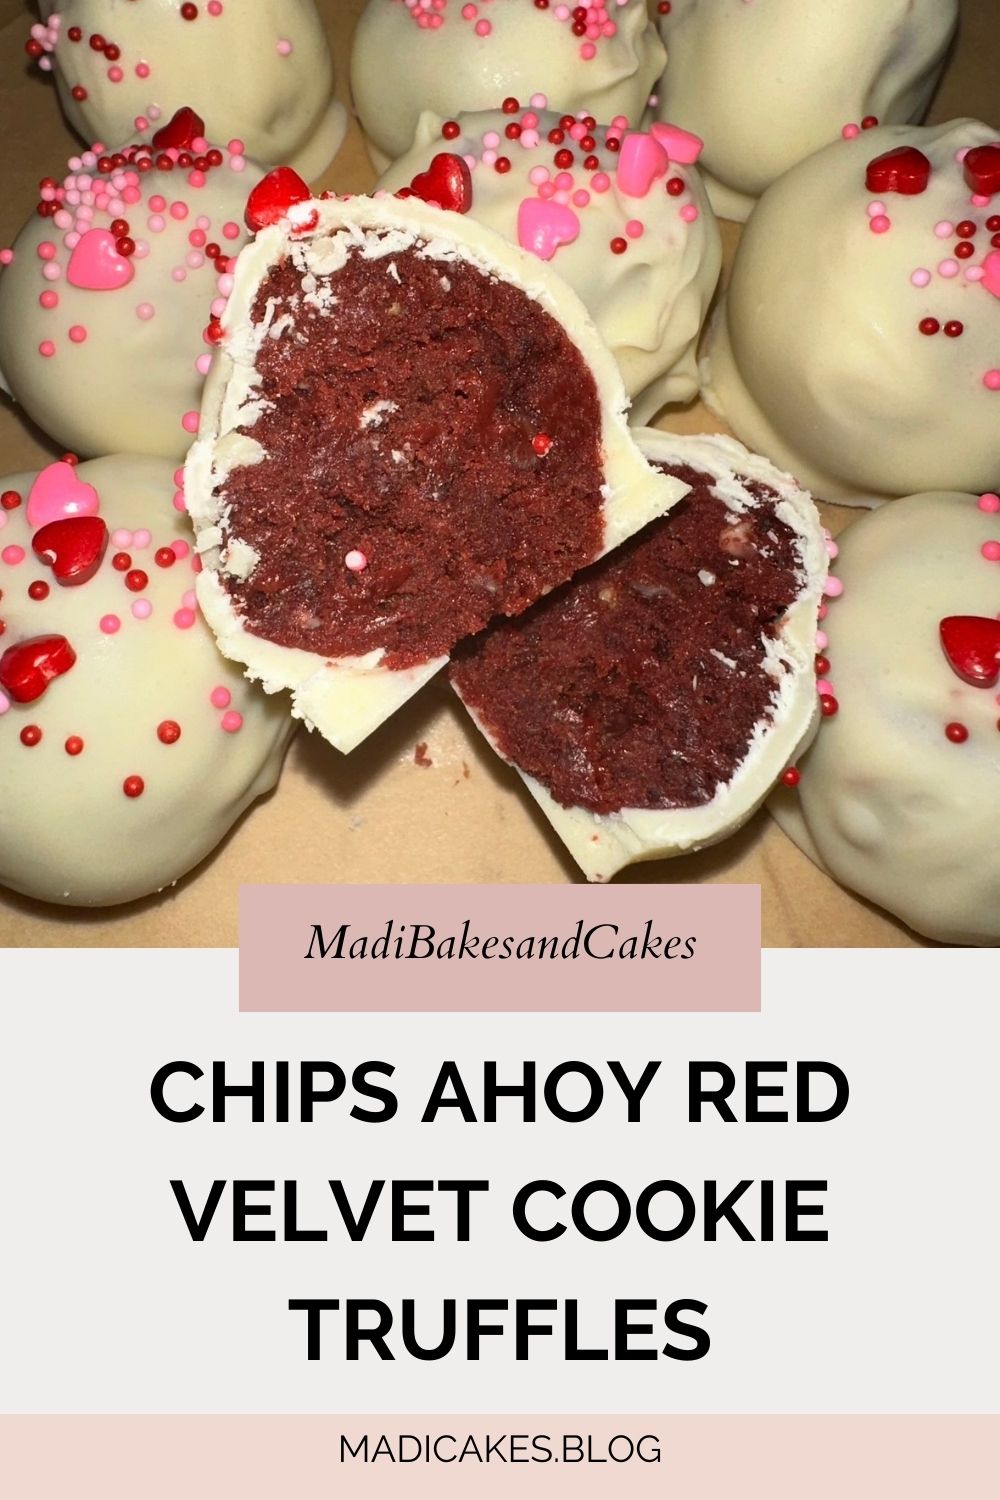
CHIPS AHOY RED VELVET COOKIE TRUFFLES
Are you ready for the ultimate Valentine’s Day flavor bomb? Well, look no further… These […]
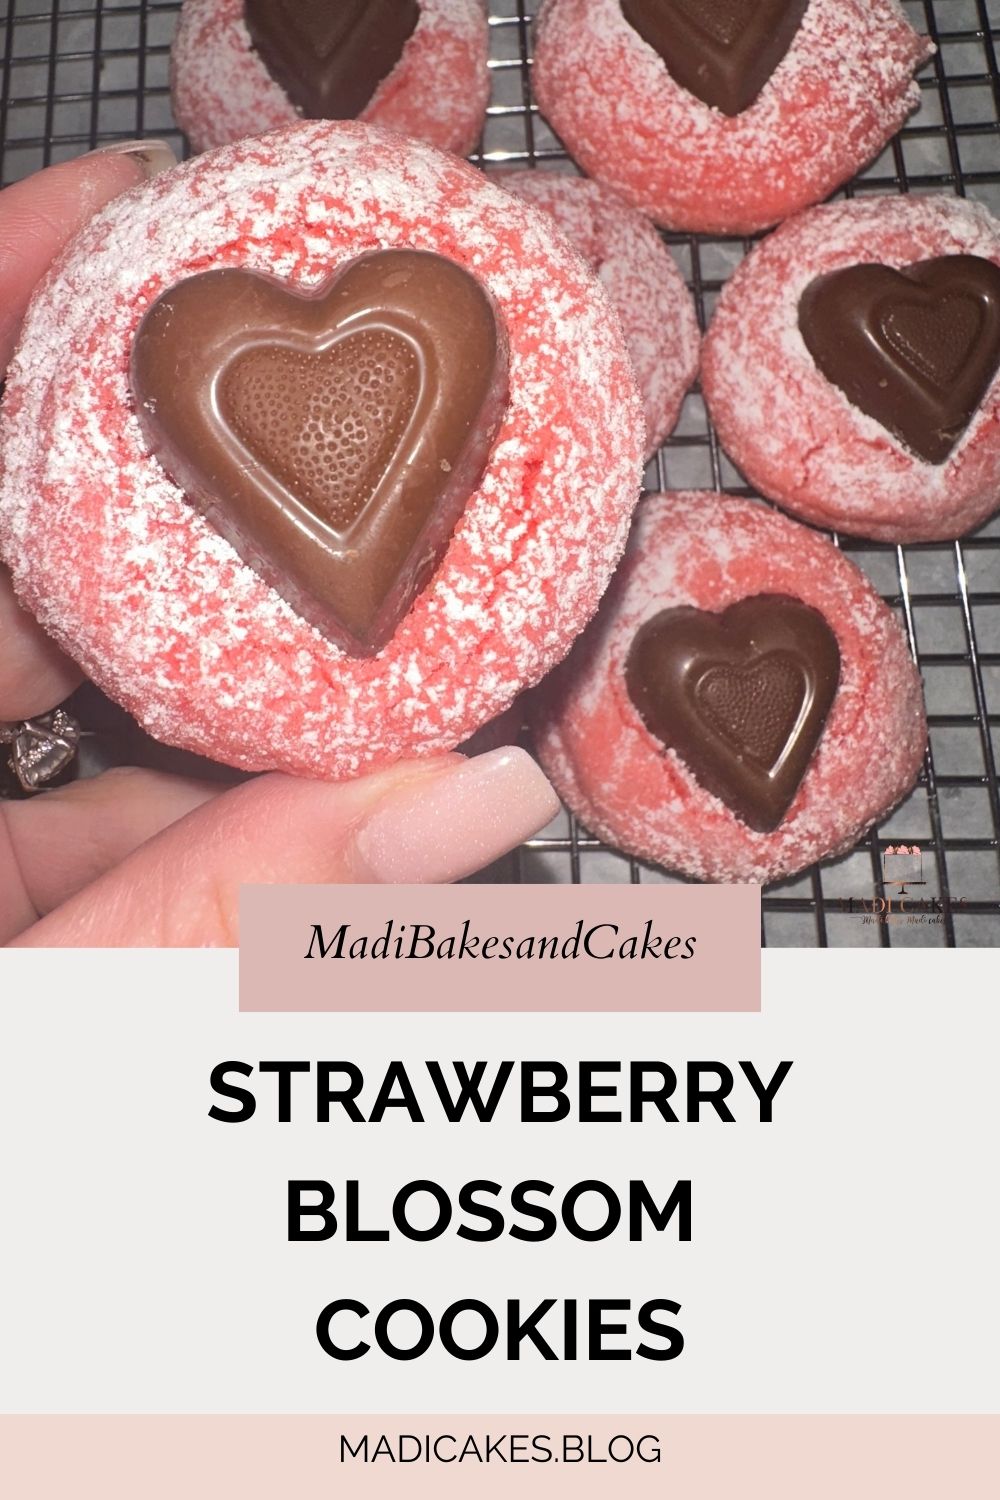
Strawberry Blossom Cookies
Are you looking for a fun and easy Valentine’s day treat for your upcoming Gal-entines, […]
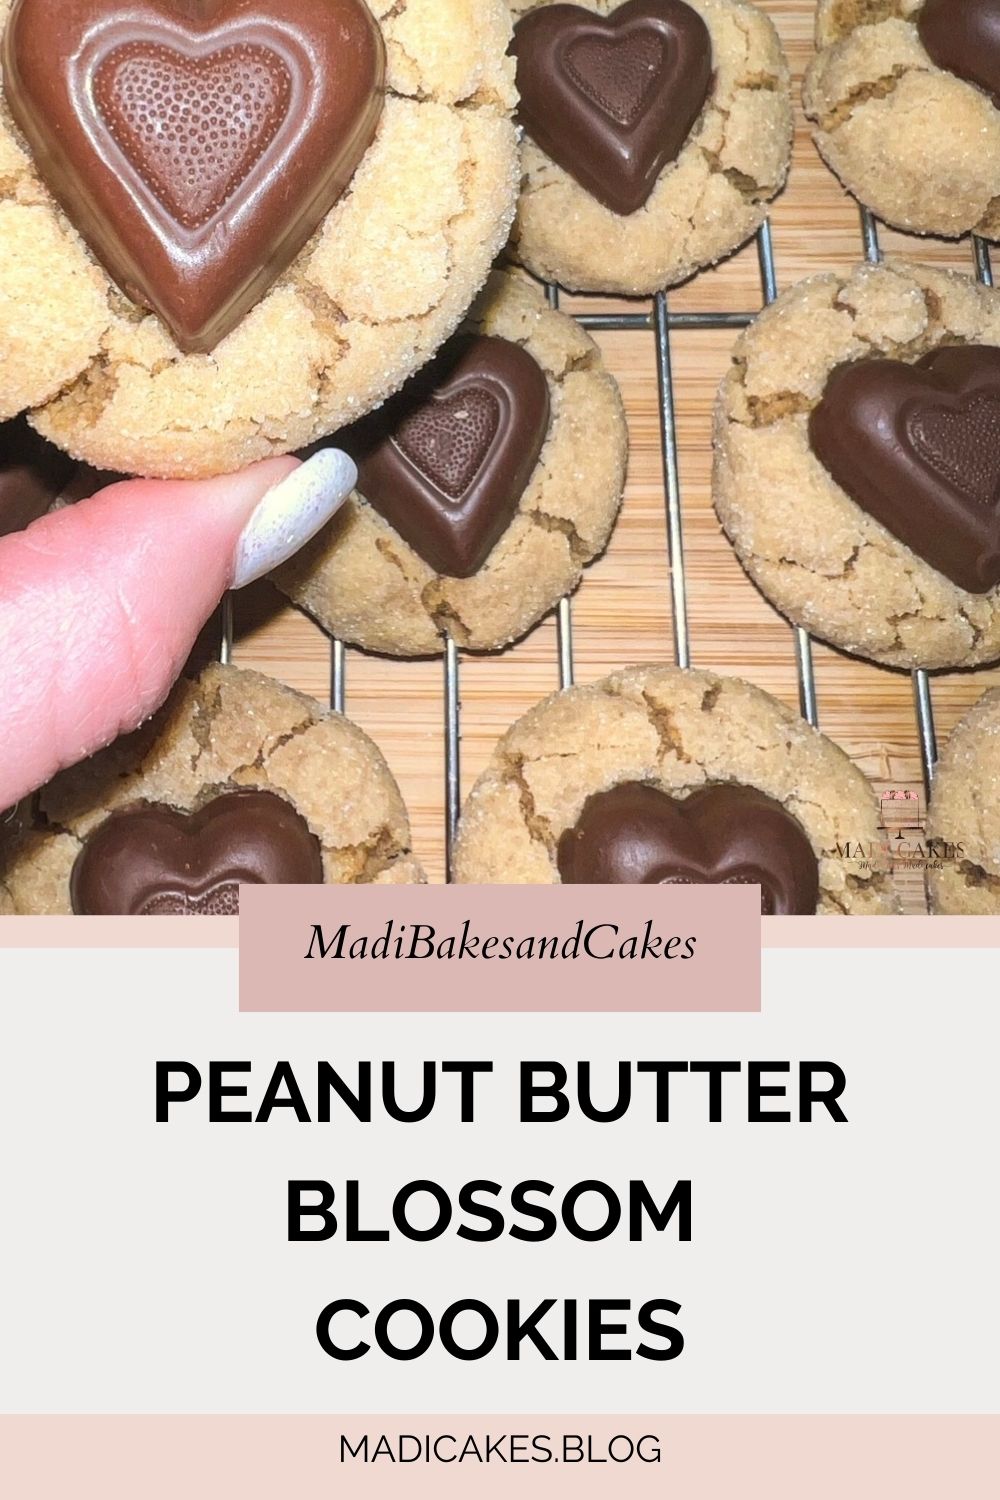
Peanut Butter Blossom Cookies
Peanut Butter meets Chocolate and I give you… Peanut Butter Blossom Cookies – Valentine’s Day […]
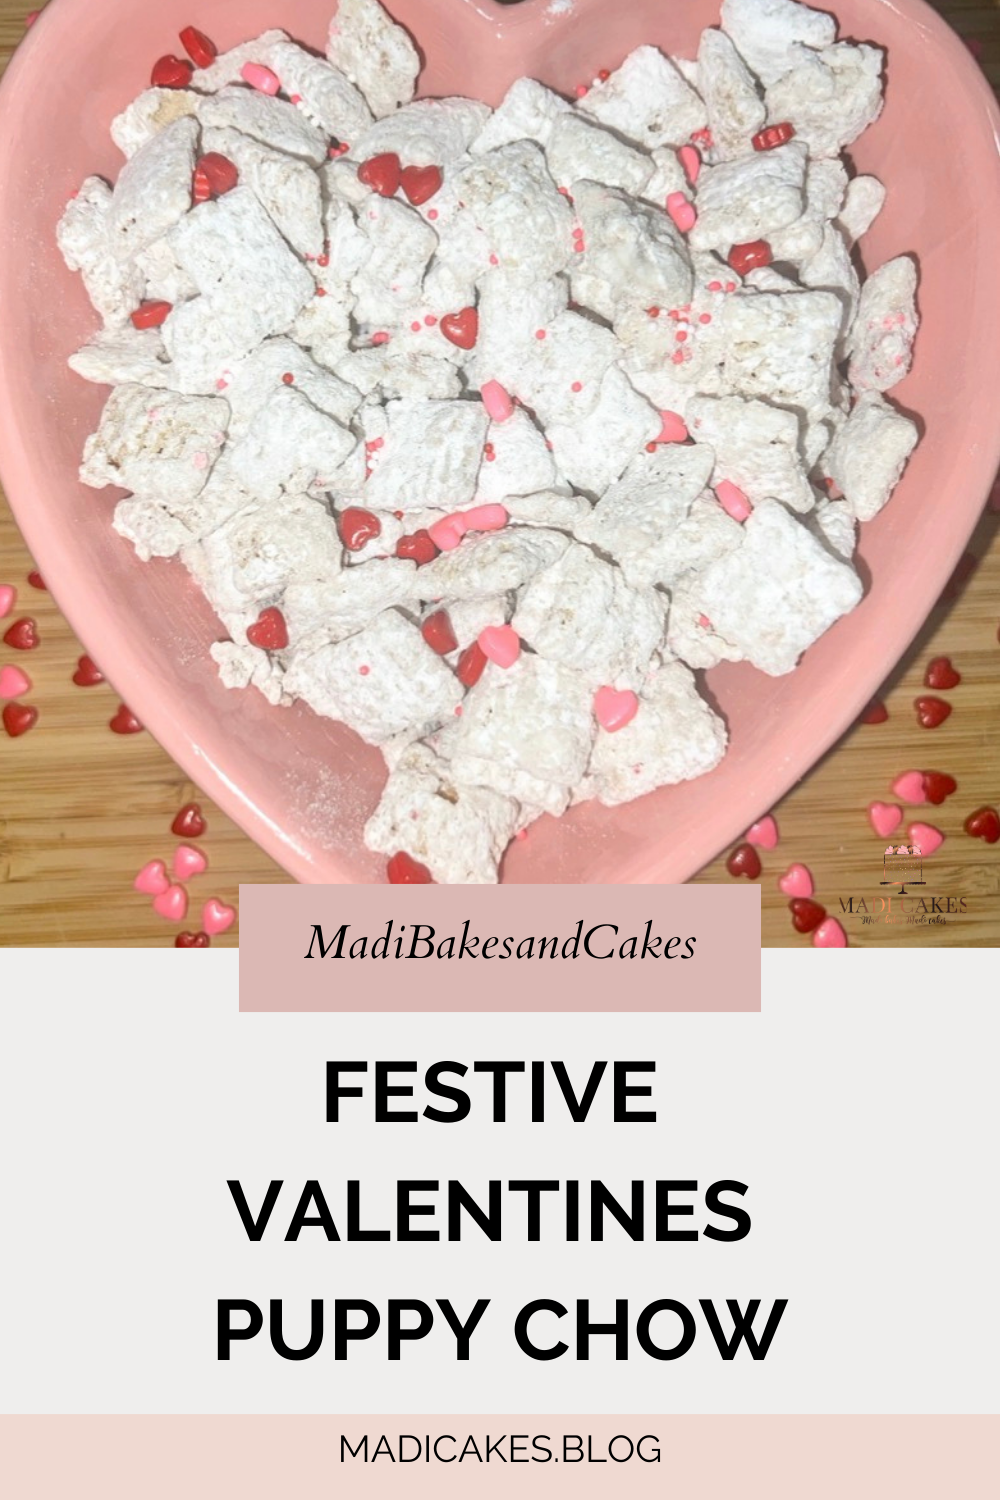
Valentine’s Day Puppy Chow
Are you looking for a fun and easy Valentine’s day treat for your upcoming Gal-entines, […]
Stepping into 2026 with big visions, high goals, and a whole bunch of fun new content to share!
Cheers to the new year! Is it just me or did we just blink and […]
ANDES MINT CHOCOLATE COOKIES
Indulge in the perfect blend of rich chocolate and refreshing mint with these Andes Mint […]
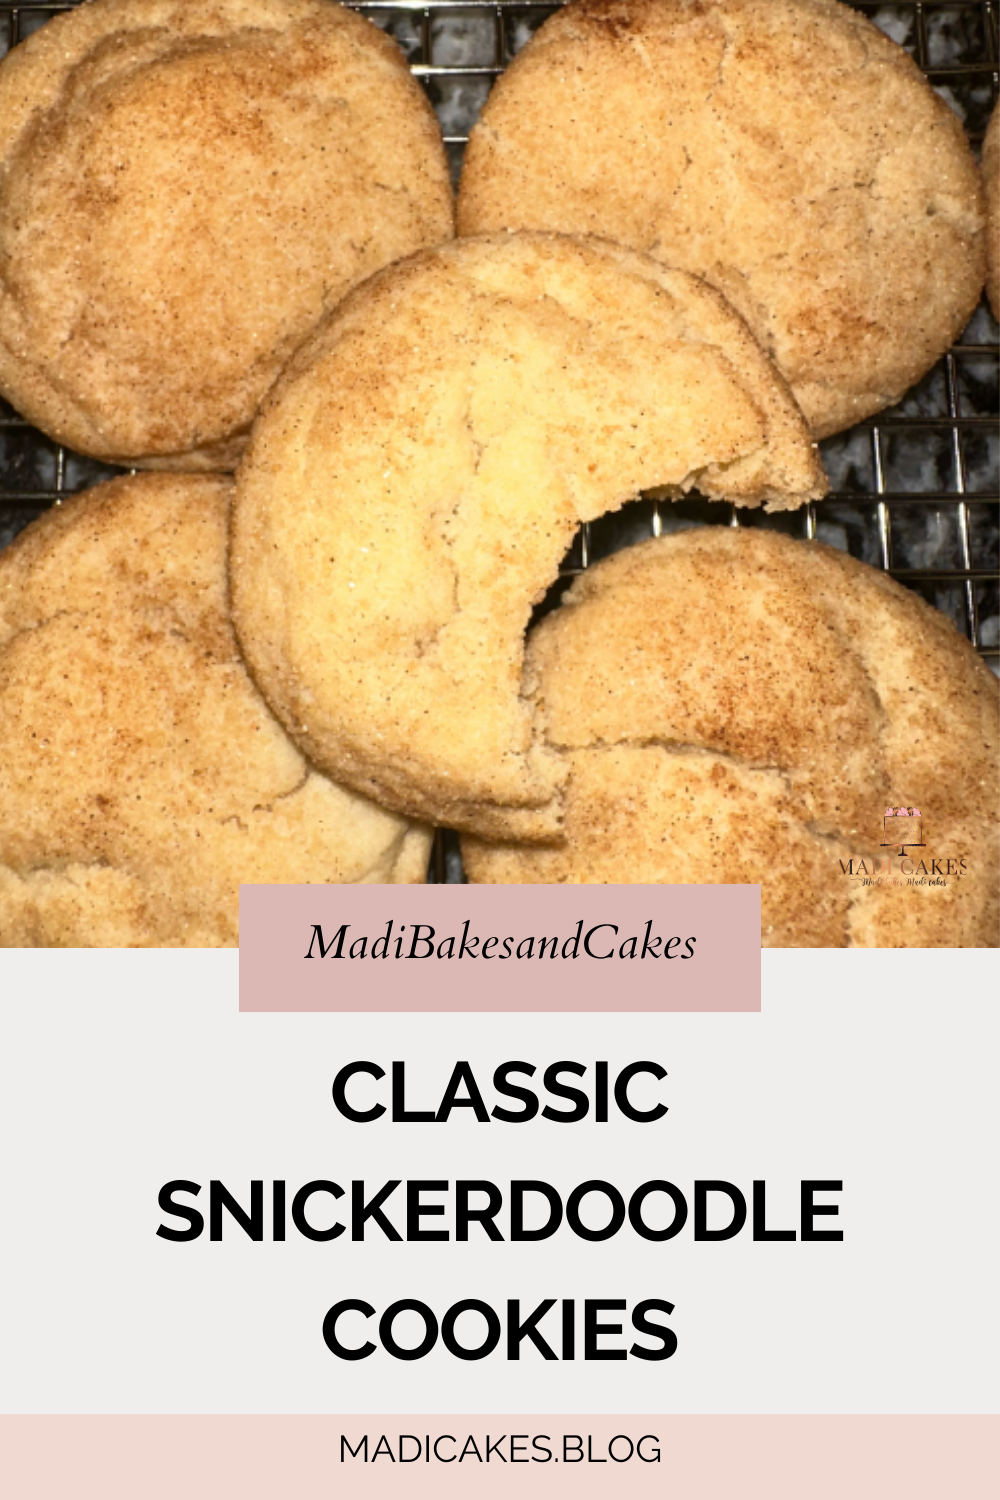
Classic Snickerdoodle Cookies
Snickerdoodles are a timeless cookie favorite. Soft, chewy, and coated in cinnamon sugar, they’re simple […]
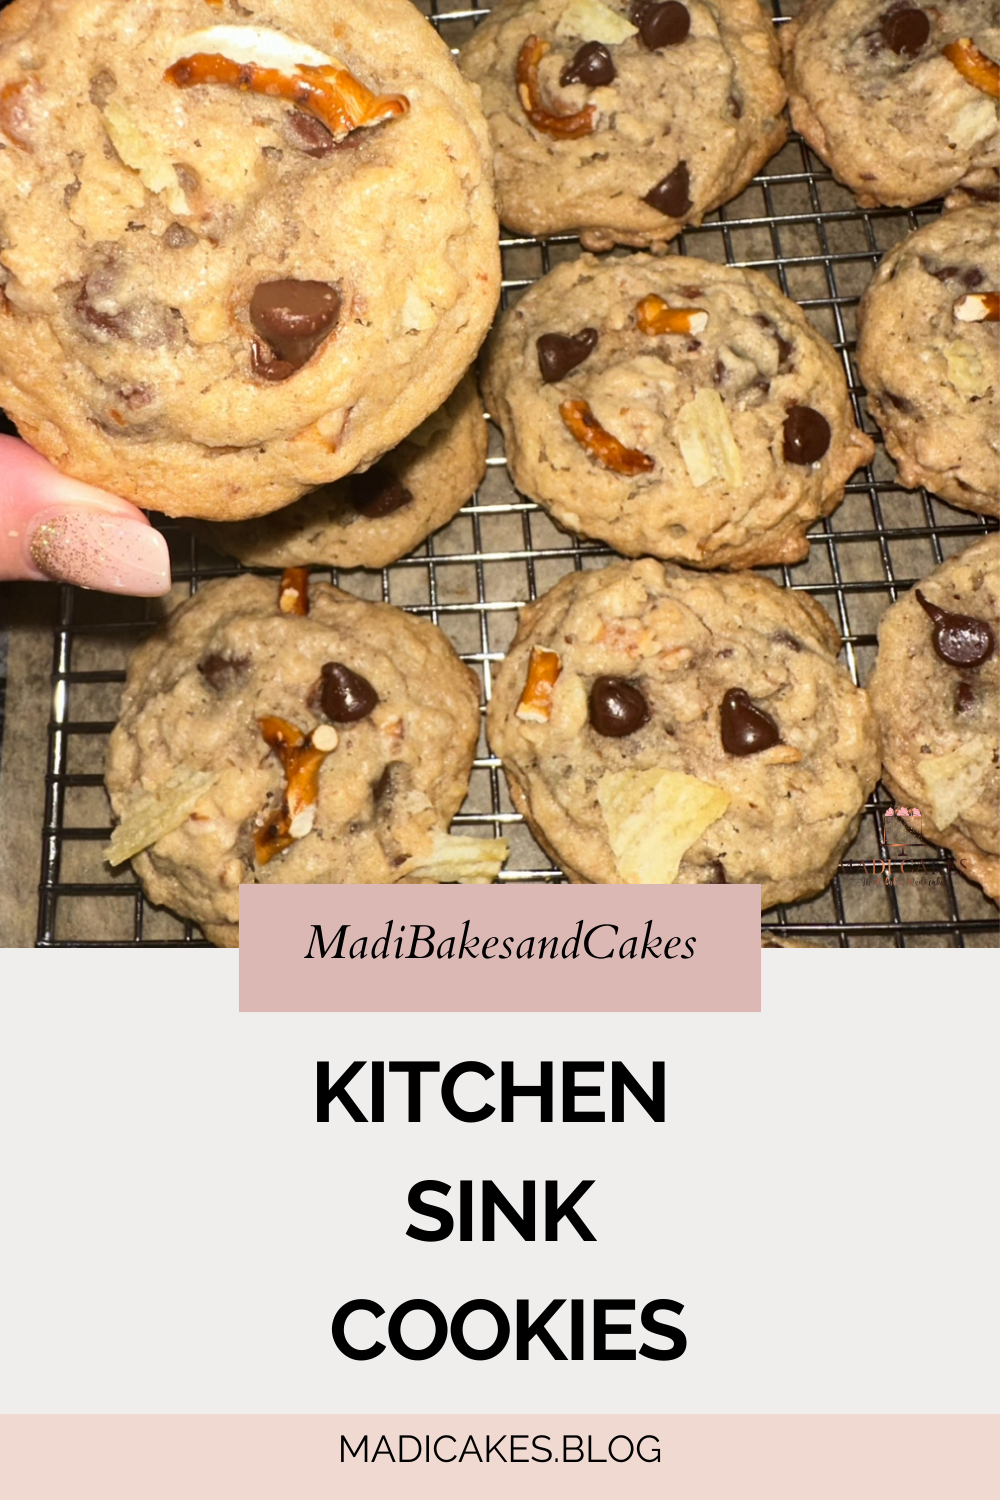
Kitchen Sink Cookies
Are you looking for a delicious cookie recipe using only the contents of your pantry? […]
NUTELLA STUFFED PEANUT BUTTER COOKIES
If you love peanut butter cookies and can’t resist Nutella, this recipe is about to […]