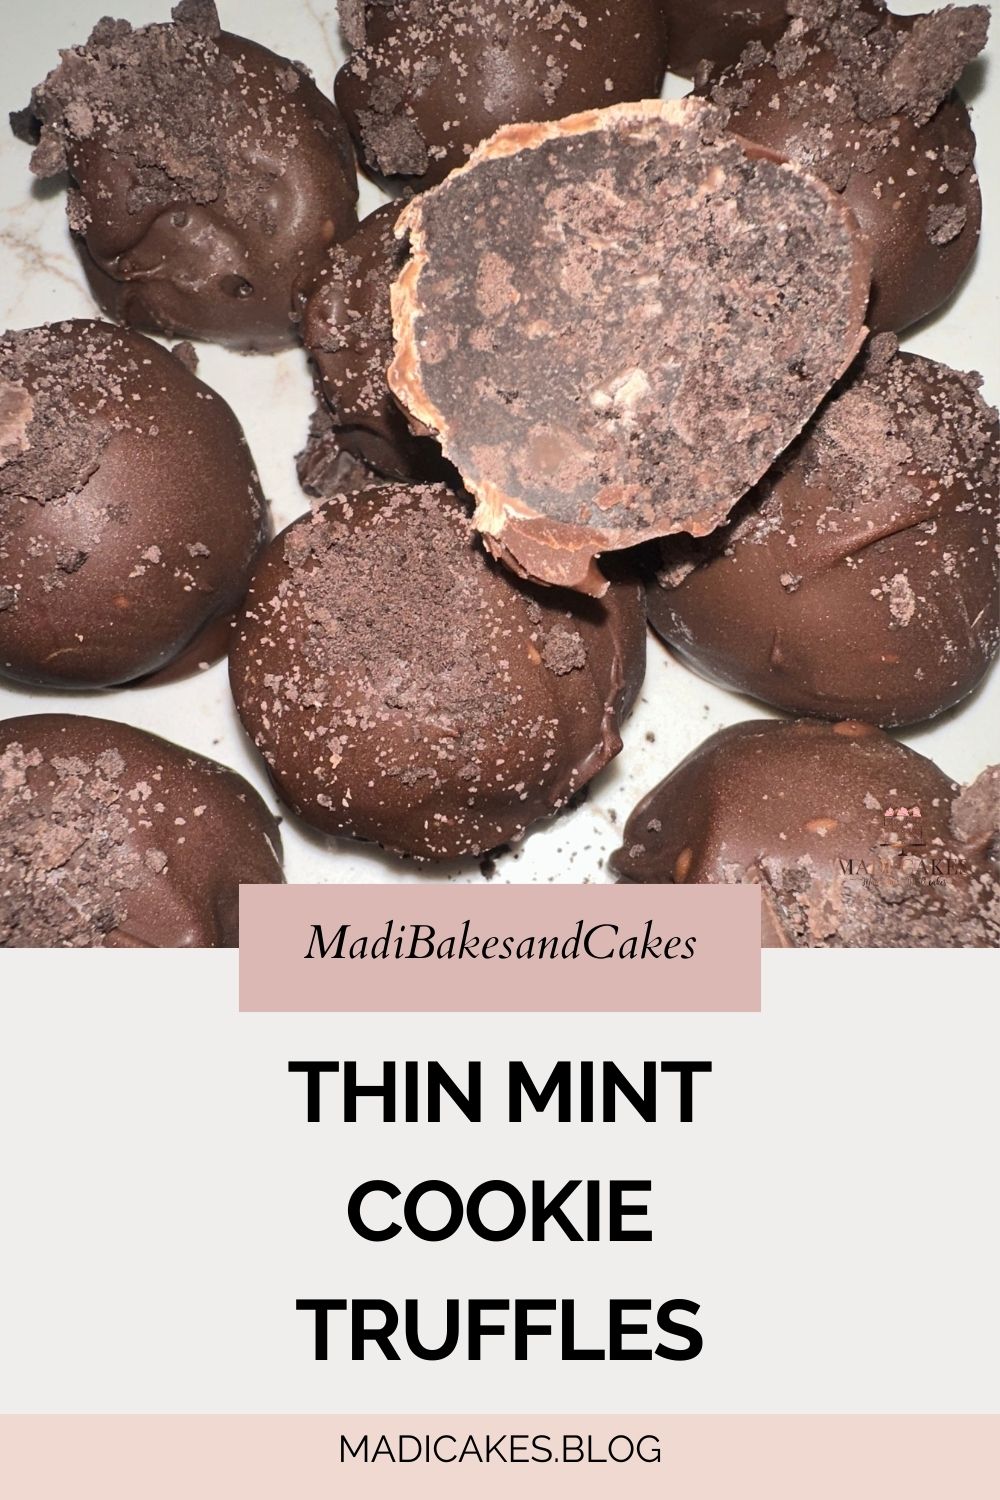
If you love the classic combination of rich chocolate and cool mint, you’re about to […]
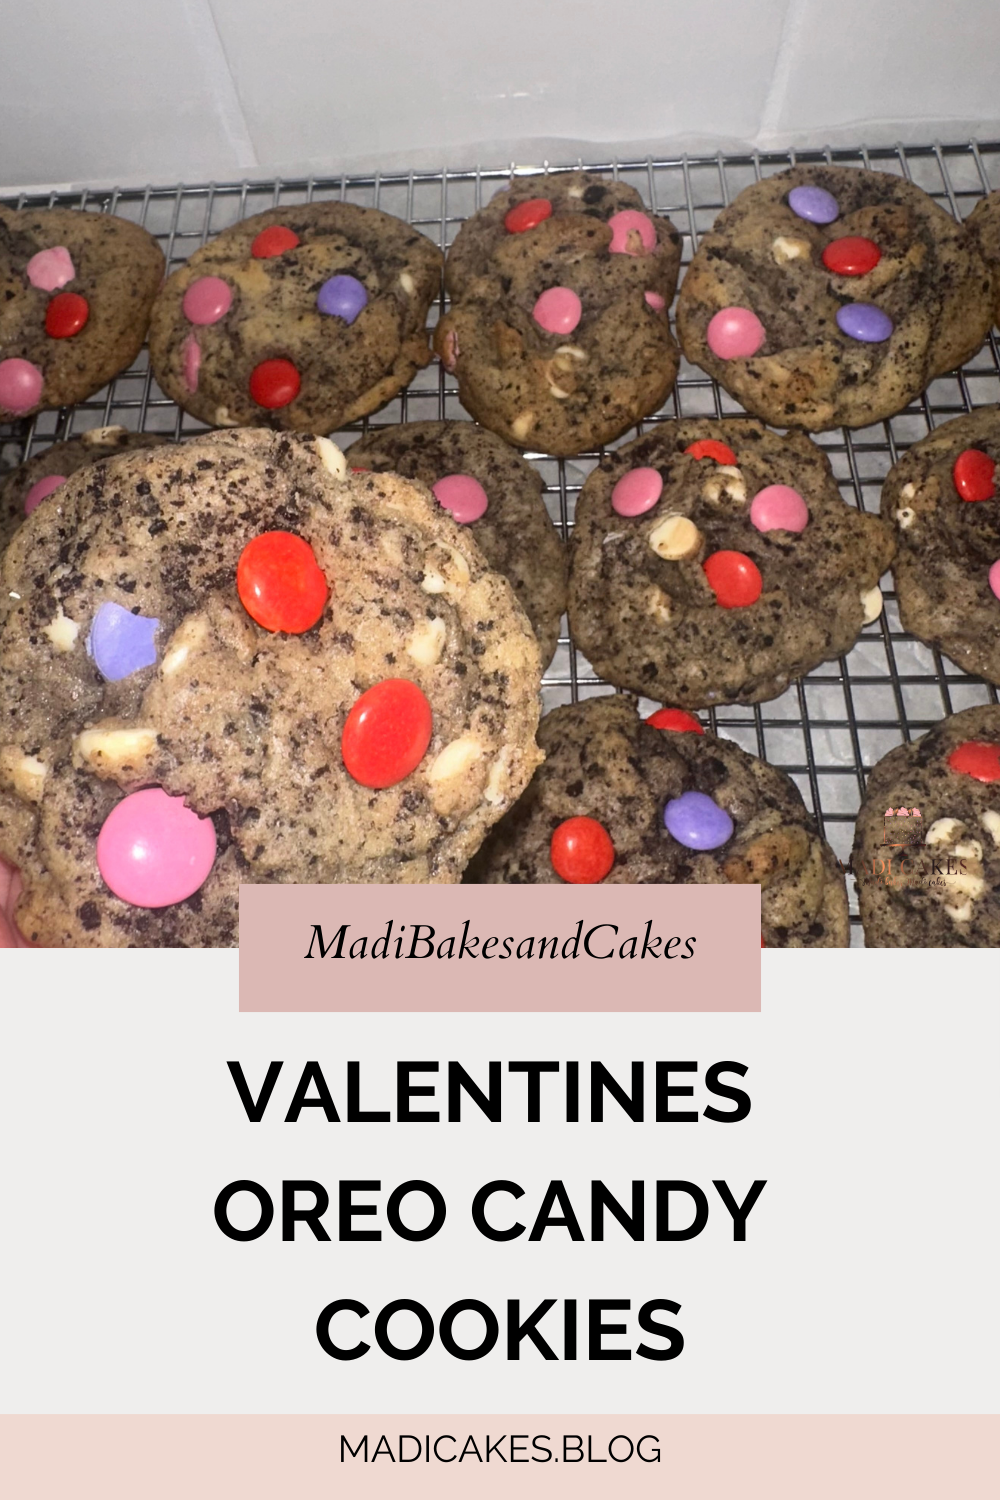
Valentines Oreo Candy Cookies
Roses are red, violets are blue,These Valentine’s Oreo Candy Cookies are waiting for you! This […]
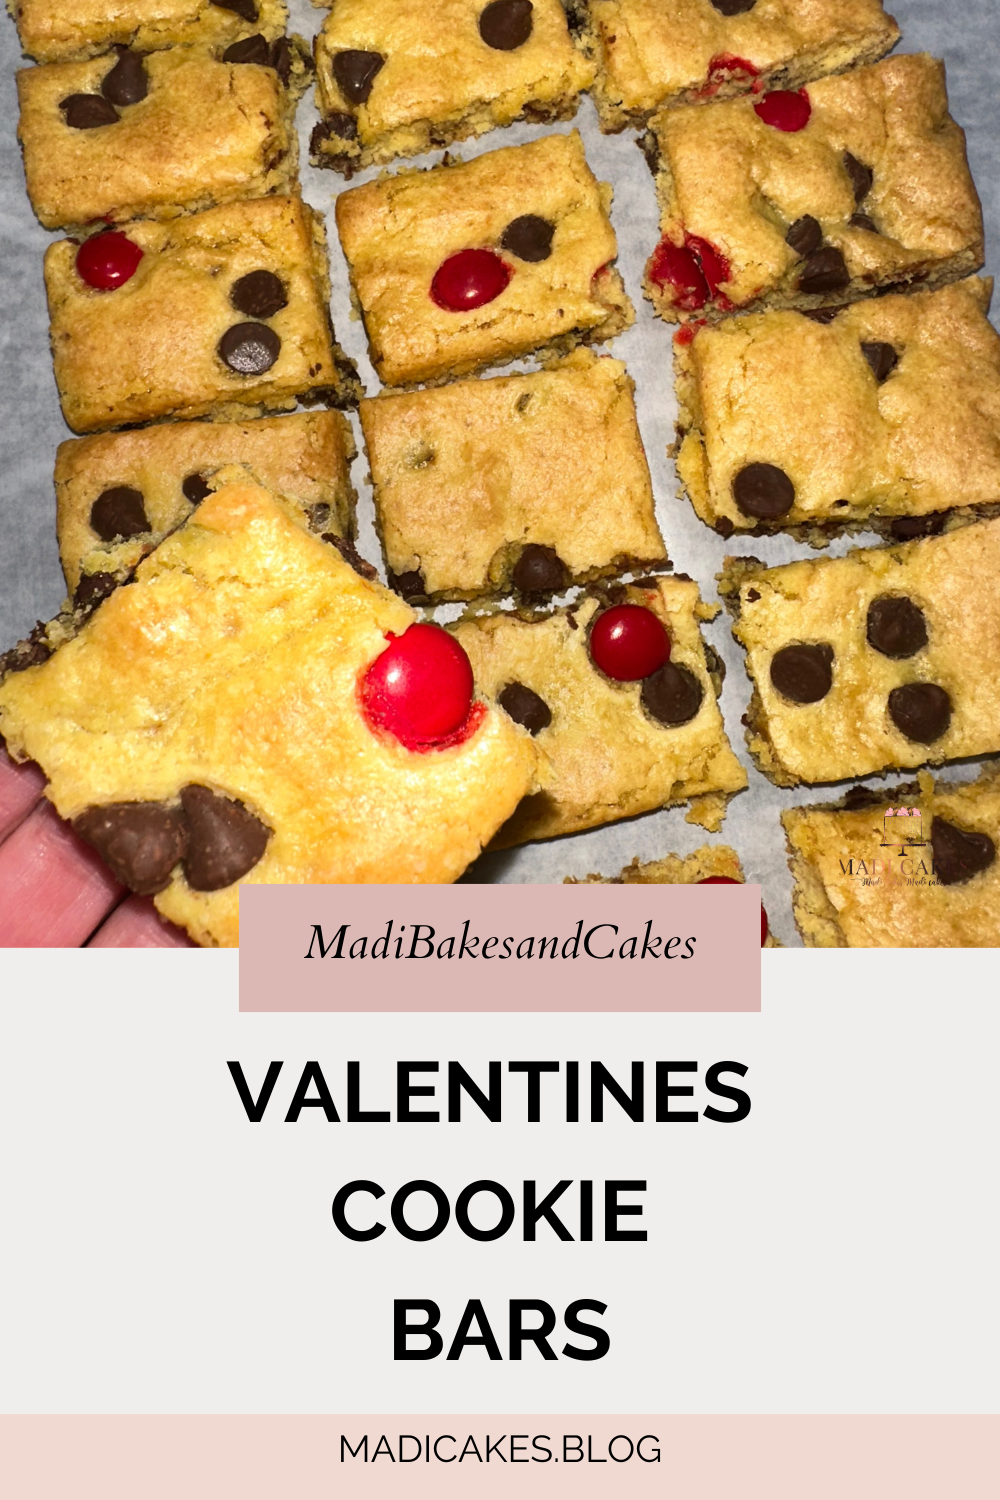
Valentine’s Cookie Bars
Flowers fade… Candy boxes get forgotten… But a soft, chewy Valentine’s Cookie Bar? That’s memorable! […]
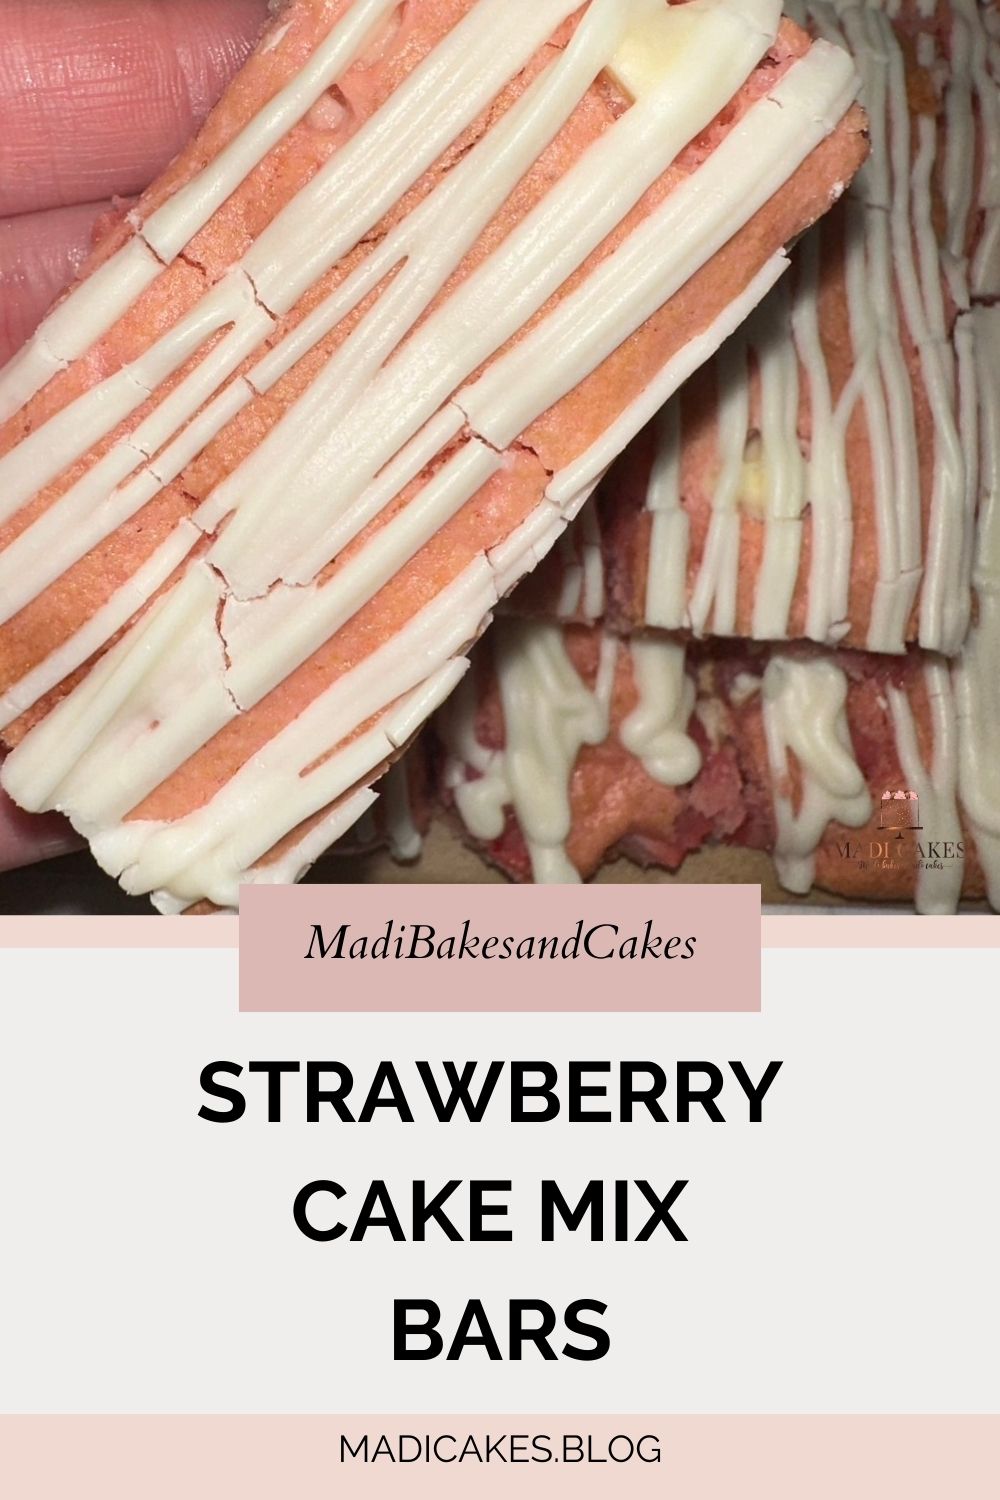
Strawberry Cake Mix Bars
If you are a lover of strawberry sweets that come together in the blink of […]

Marbled Sugar Cookies
These Marbled Sugar Cookies are a classic sugar cookie Recipe with a fun and festive […]
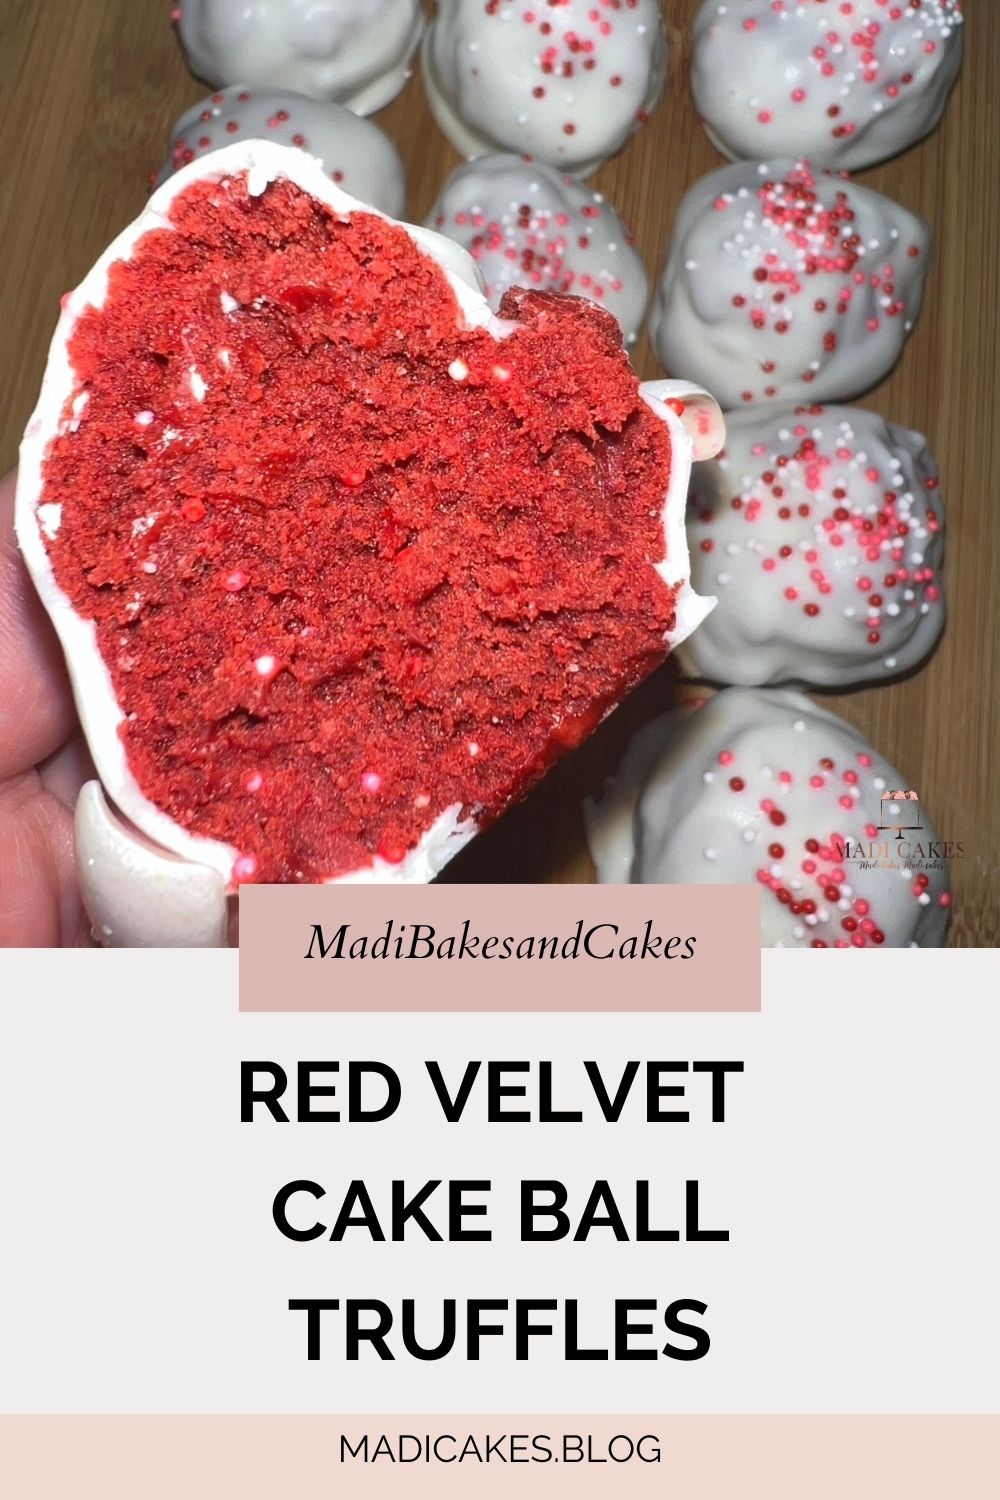
Red Velvet Cake Ball Truffles
Are you looking for an easy and delicious recipe to whip up this Valentines season? […]
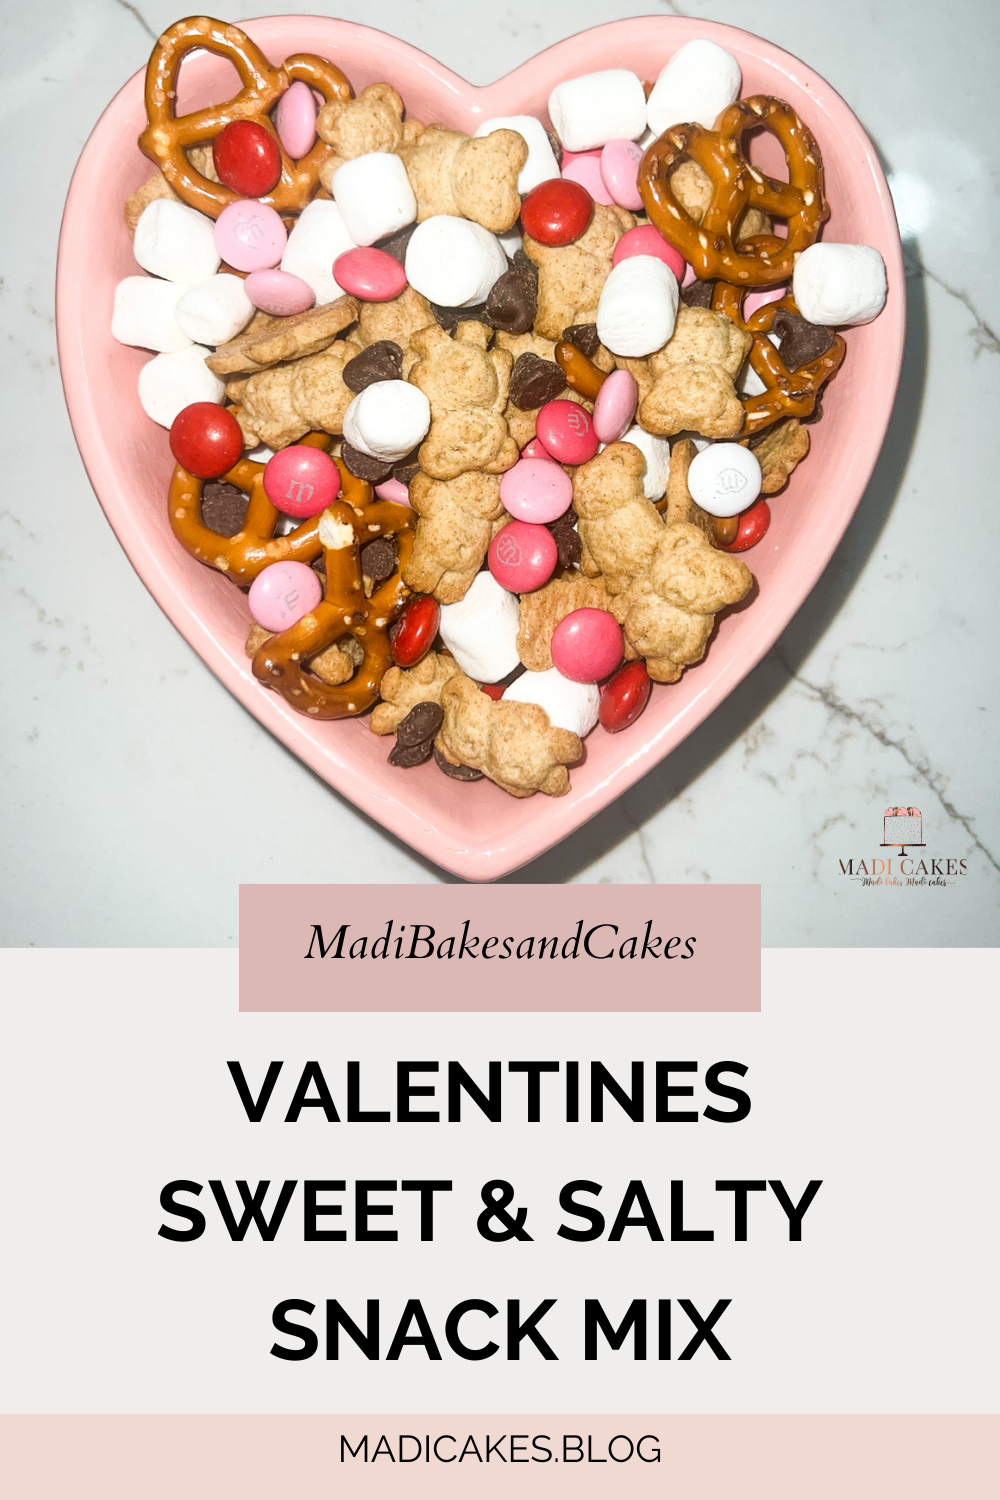
Valentines Sweet & Salty Snack Mix
Are you looking for a fun and festive little sweet snack to cure those afternoon […]

Chocolate Covered Oreo Cookie
If you are looking for a simple and delicious treat, that requires no oven time, […]
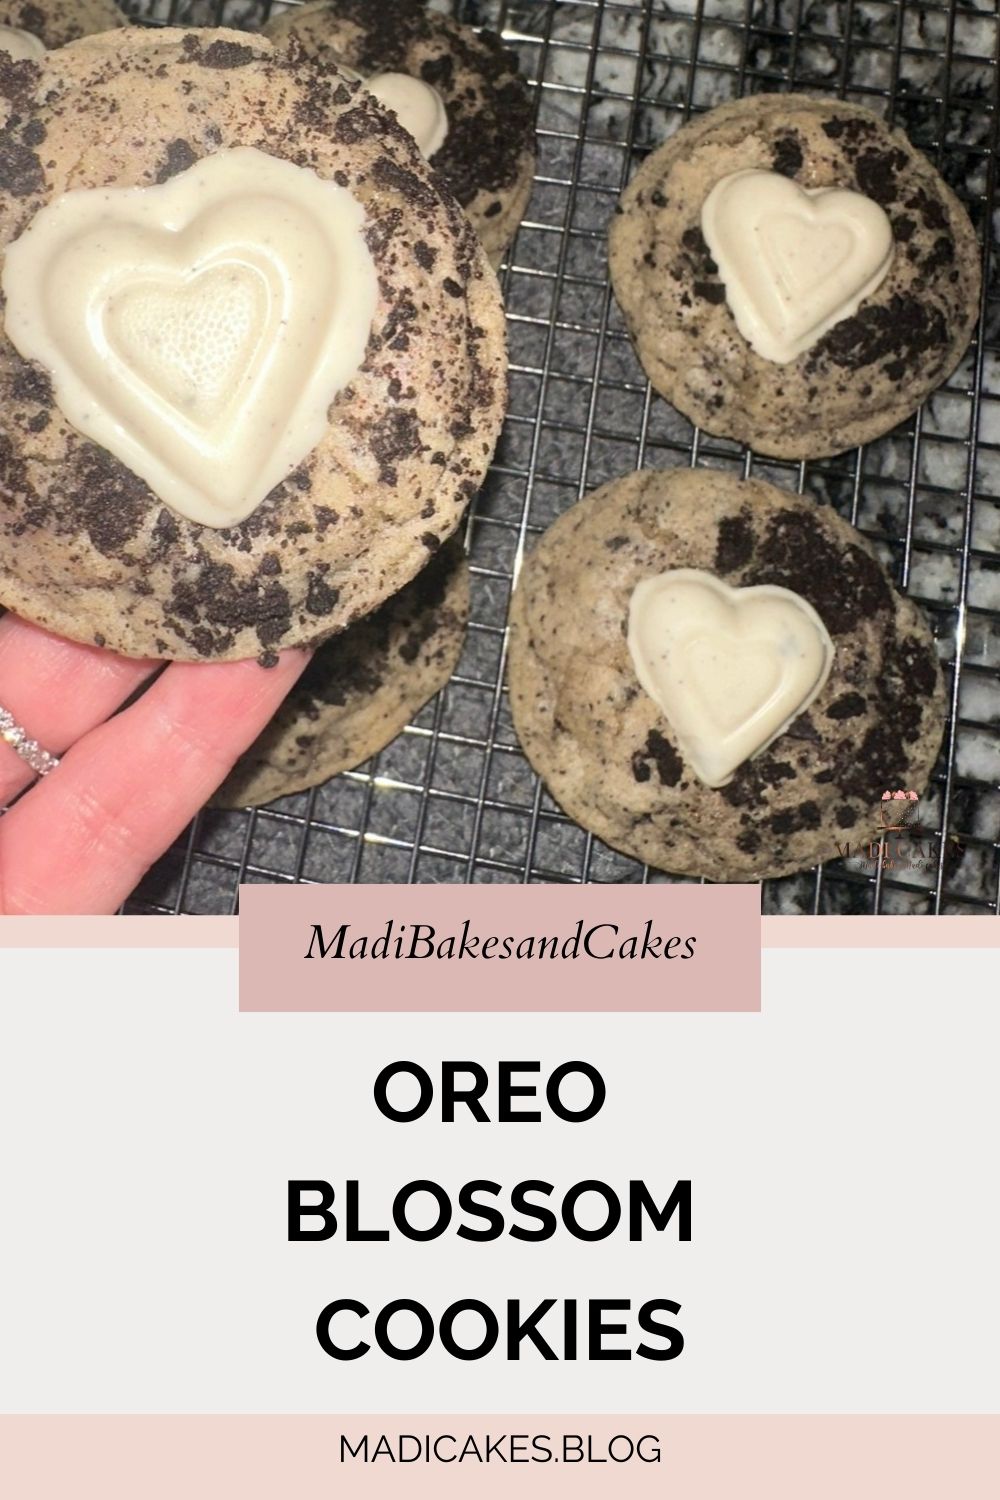
Oreo Blossom Cookies
If you’re looking for a cookie that’s both classic and eye-catching, let me introduce you […]
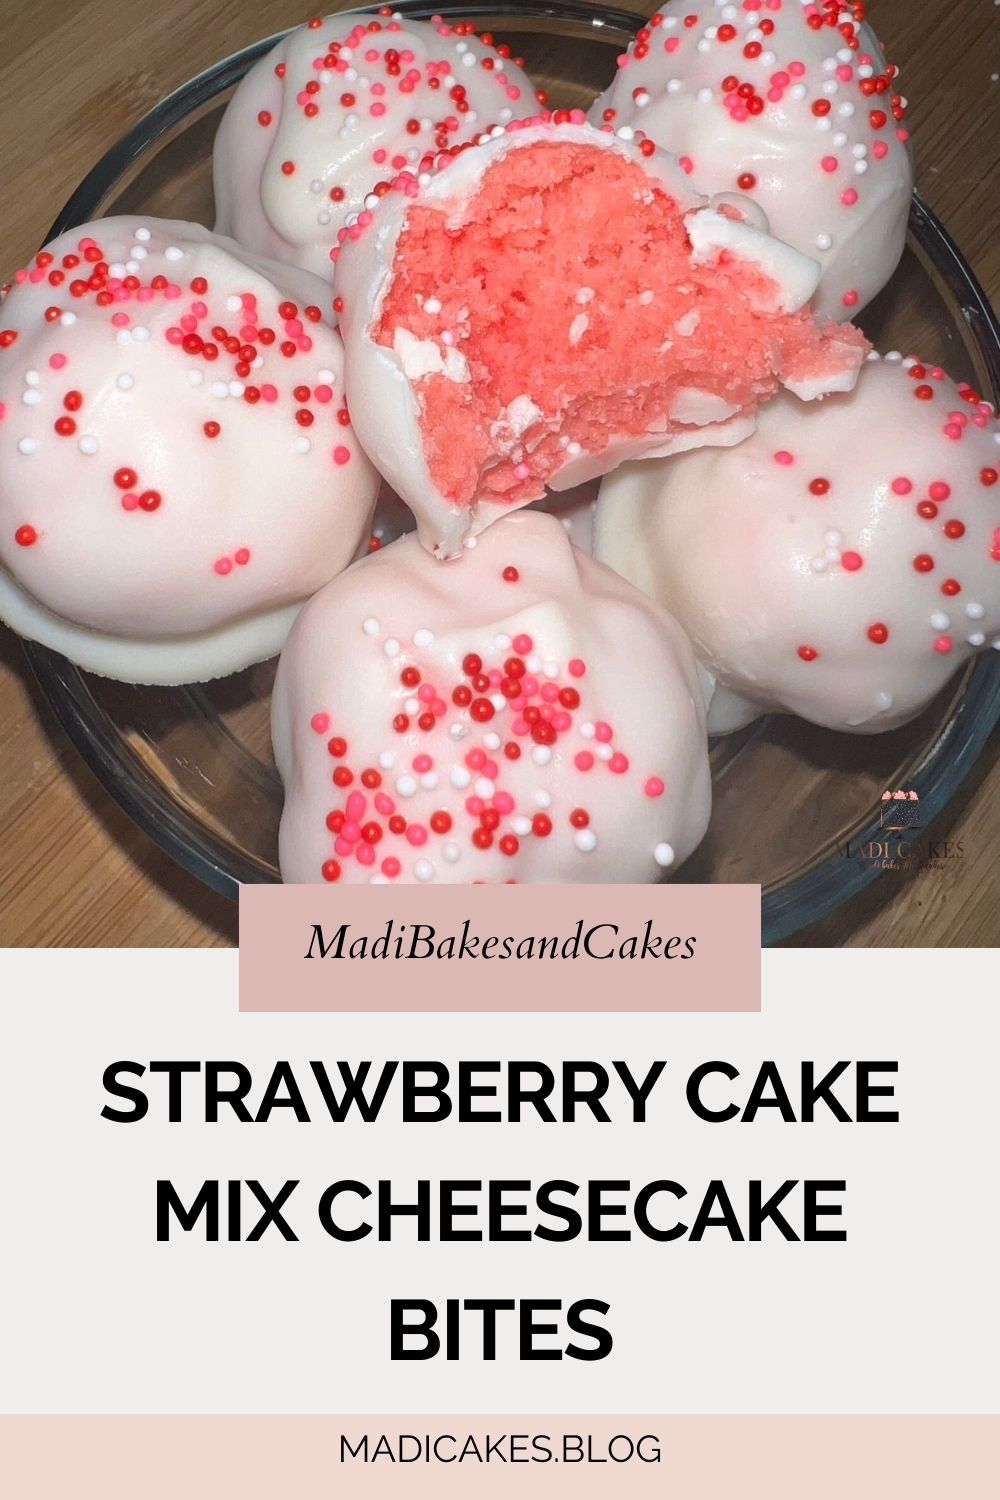
Strawberry Cake Mix Cheesecake Bites
If you love desserts that are easy to make but taste like they came straight […]