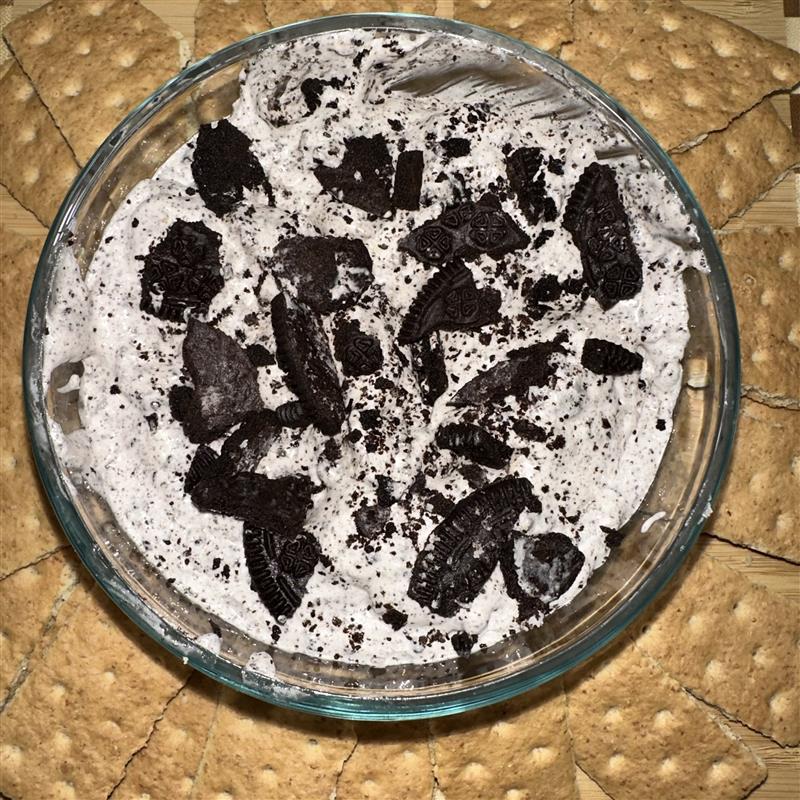
If you are looking for creamy dessert with the perfect crunch? Then look no further! […]
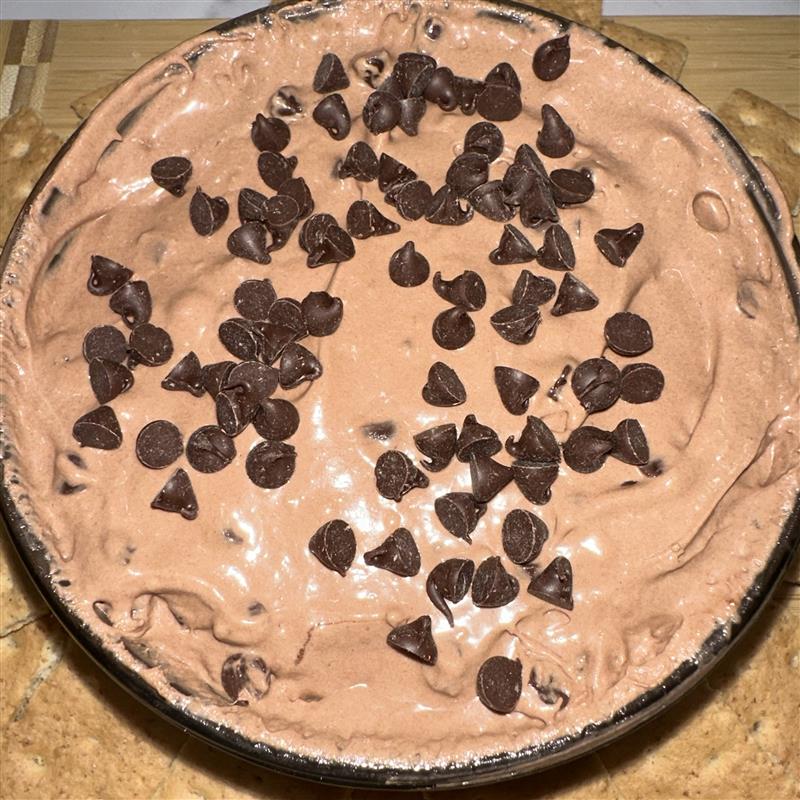
BROWNIE BATTER DIP
This delicious and easy recipe is sure to be a crowd favorite at your neighborhood […]
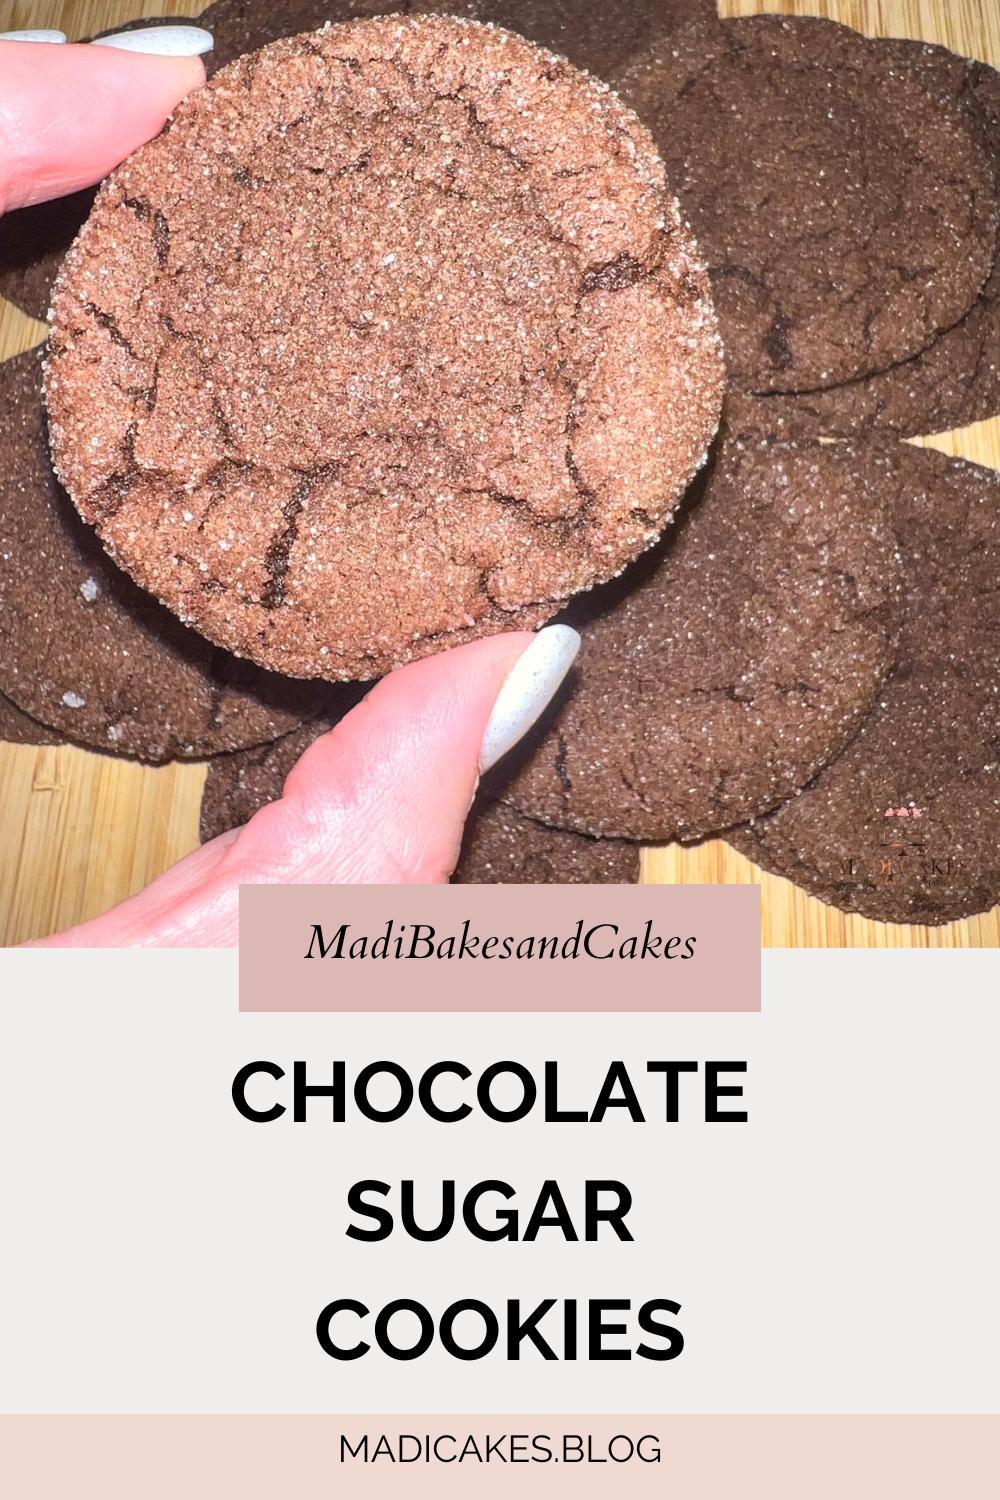
CHOCOLATE SUGAR COOKIES
Sharing this delicious twist on a classic sugar cookie recipe… Chocolate Sugar Cookies! Have you […]
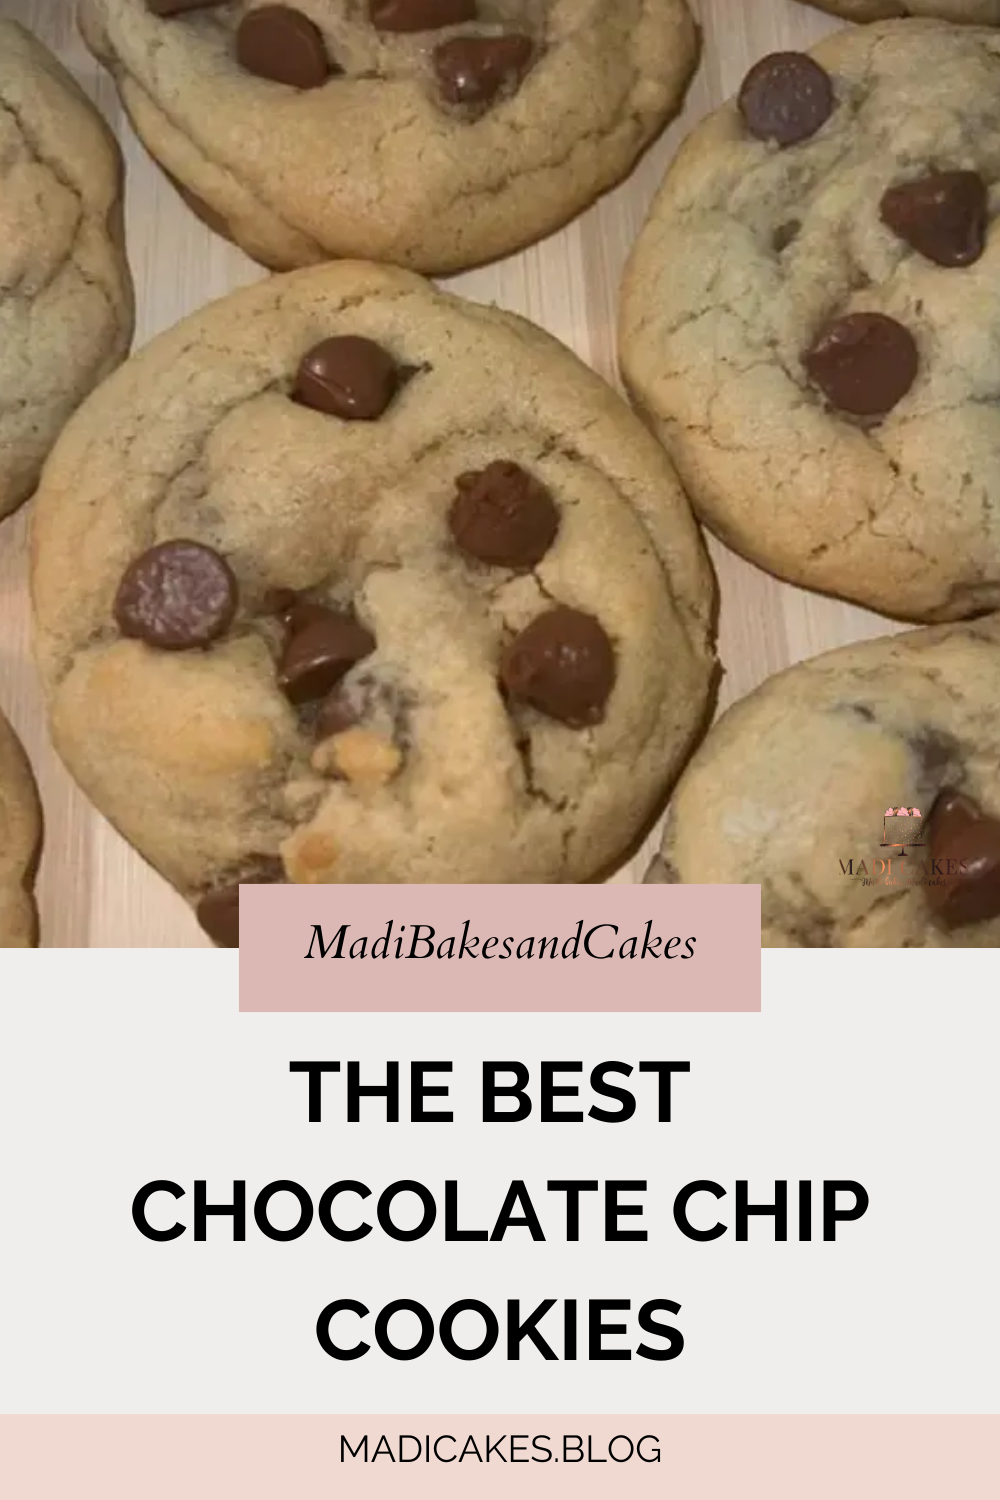
The BEST Chocolate Chip Cookies
As my first official recipe posted, it only seems fitting that it would be my […]