This delicious and easy recipe is sure to be a crowd favorite at your neighborhood […]
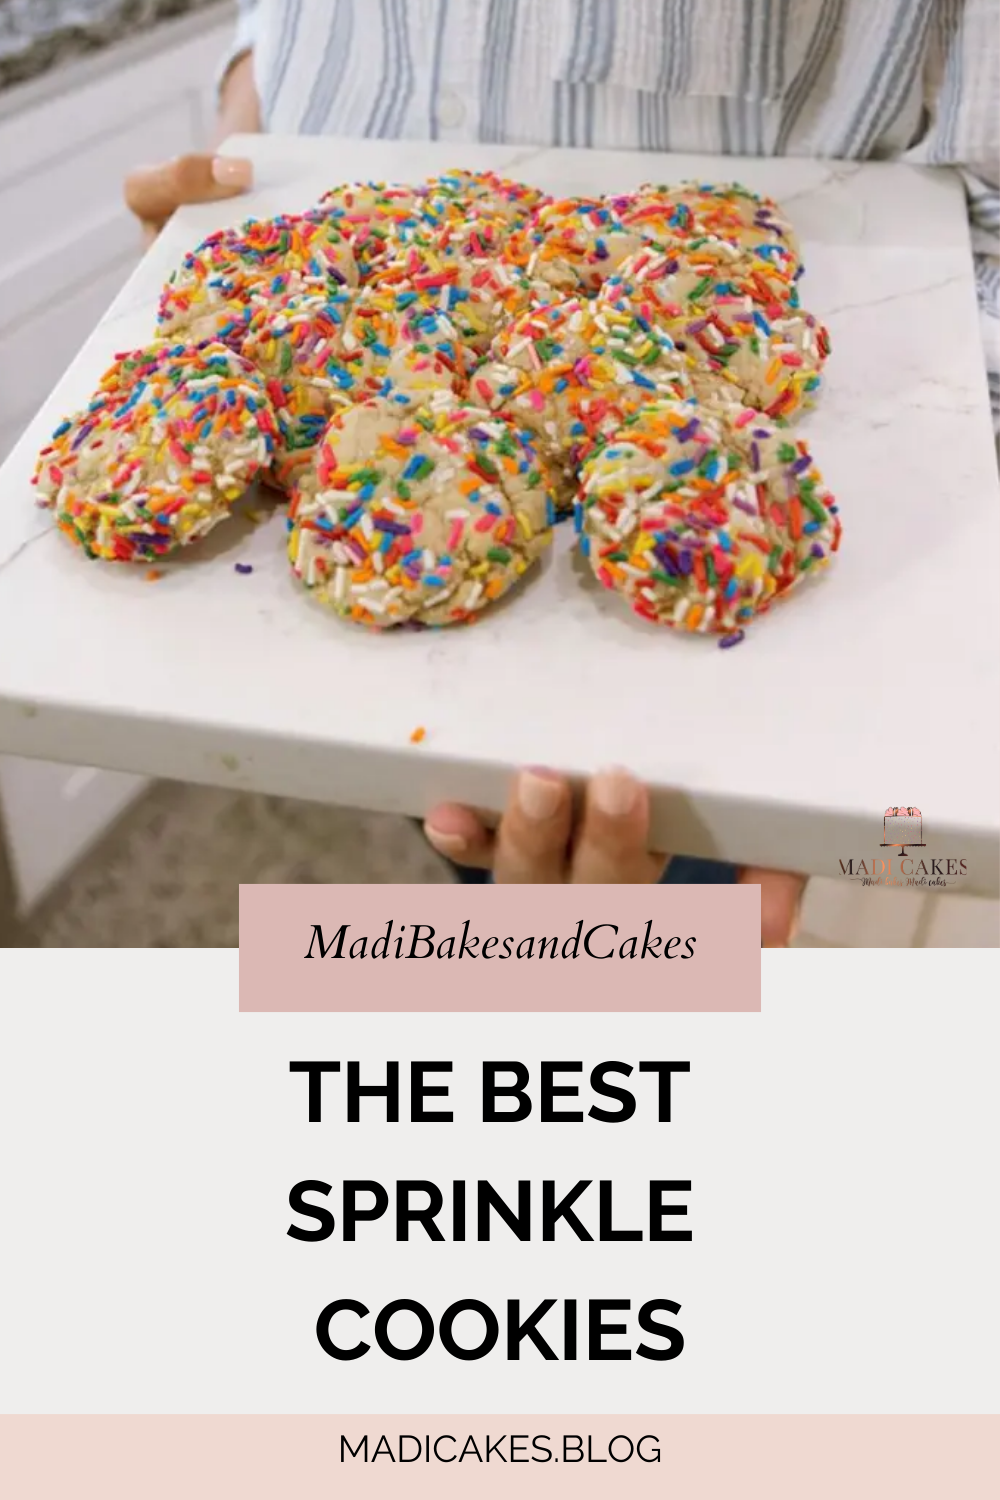
The BEST Sprinkle Cookies
Sharing these easy old-fashioned sprinkle cookie Recipe. This is a recipe straight out of my […]
This delicious and easy recipe is sure to be a crowd favorite at your neighborhood […]
Sharing these easy old-fashioned sprinkle cookie Recipe. This is a recipe straight out of my […]