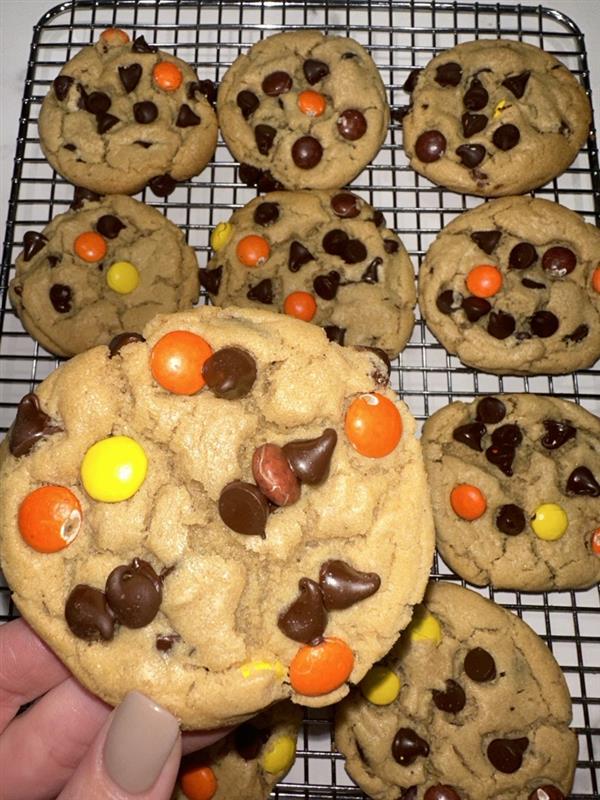
Get ready to light up your taste buds with these incredible easy and delicious, candy-filled […]
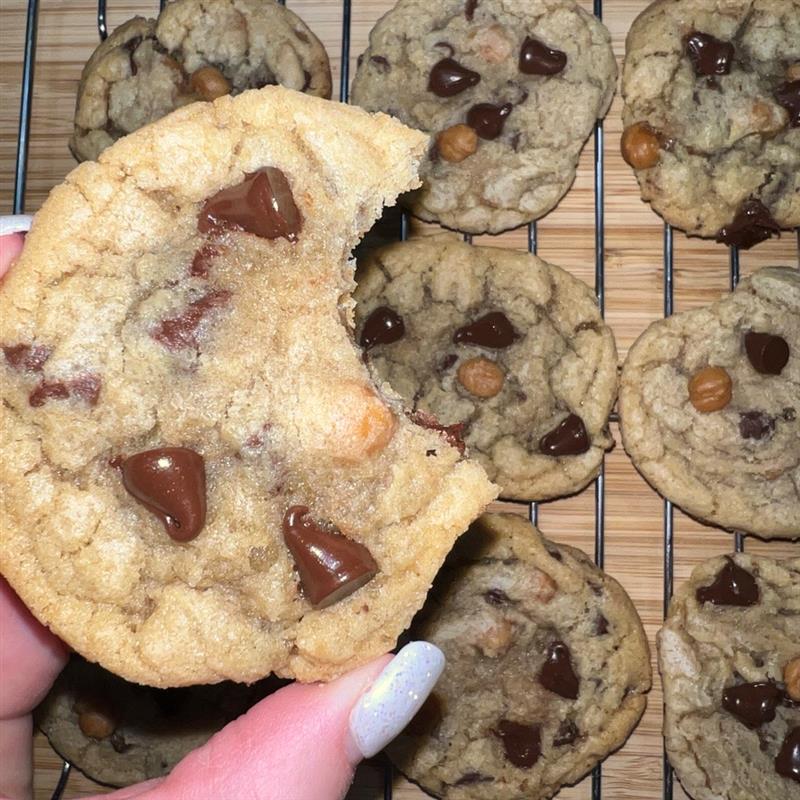
CARAMEL CHOCOLATE CHIP COOKIES
A delicious and easy twist on my classic Chocolate Chip Cookie recipe! These cookies are […]
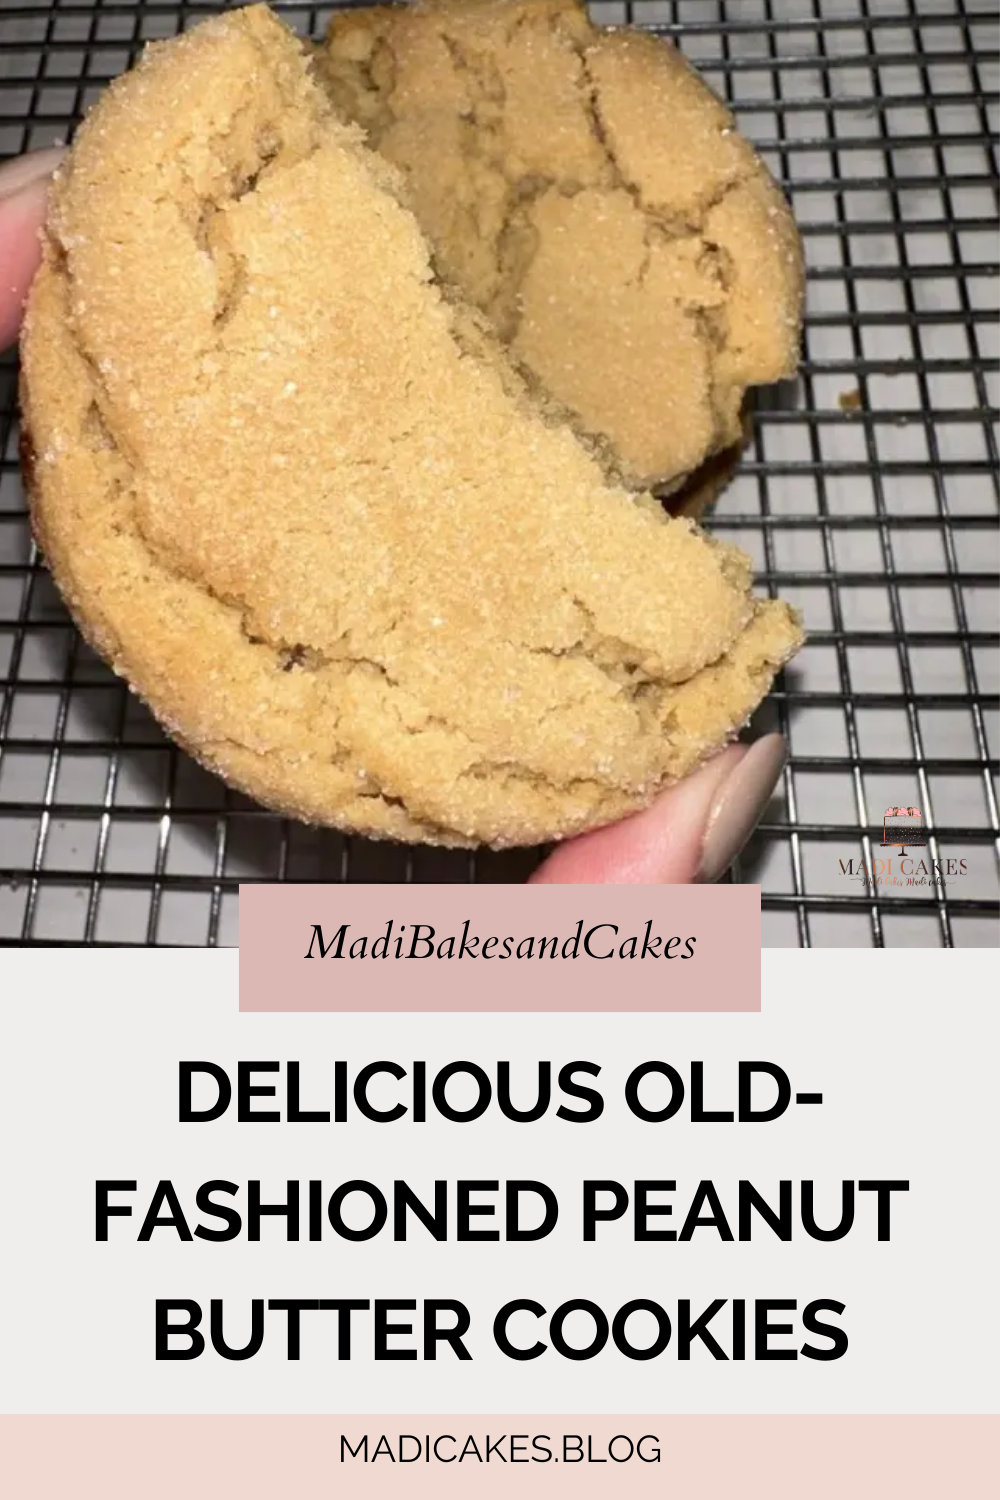
Delicious Old-Fashioned Peanut Butter Cookies Recipe
You will love these delicious, old-fashioned peanut butter cookies! They are filled with peanuty goodness […]
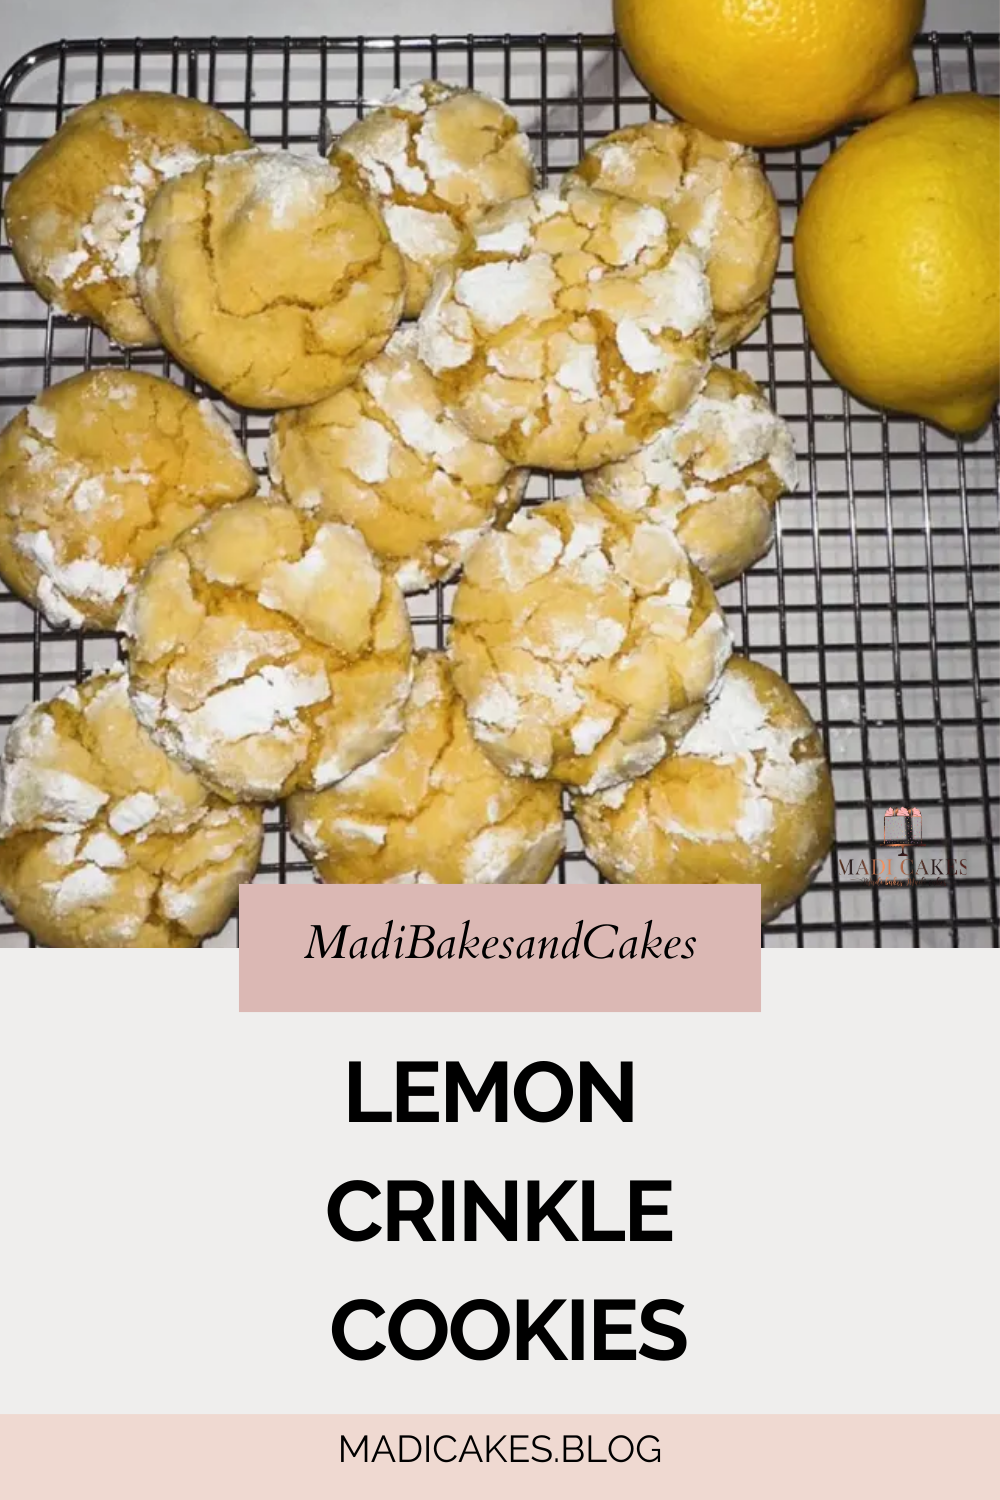
Lemon Crinkle Cookies
These mouth-watering cookies are easy, fluffy and delicious! Coming together in one hour or less, they are sure to make a splash at your end of summer weekend plans! Grab your mixer, gather those ingredients and get to baking!
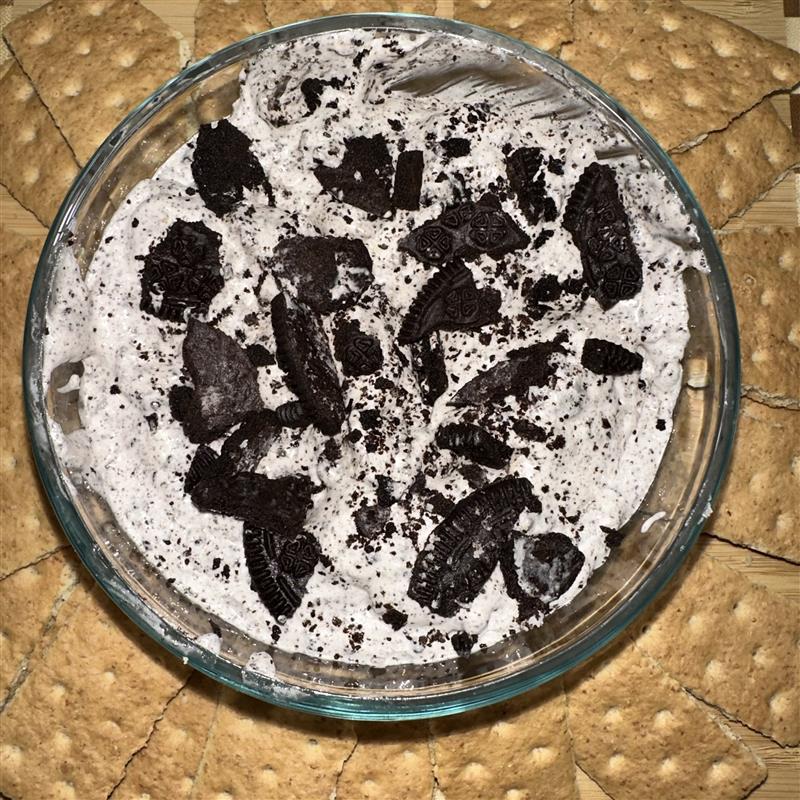
OREO FLUFF DIP
If you are looking for creamy dessert with the perfect crunch? Then look no further! […]
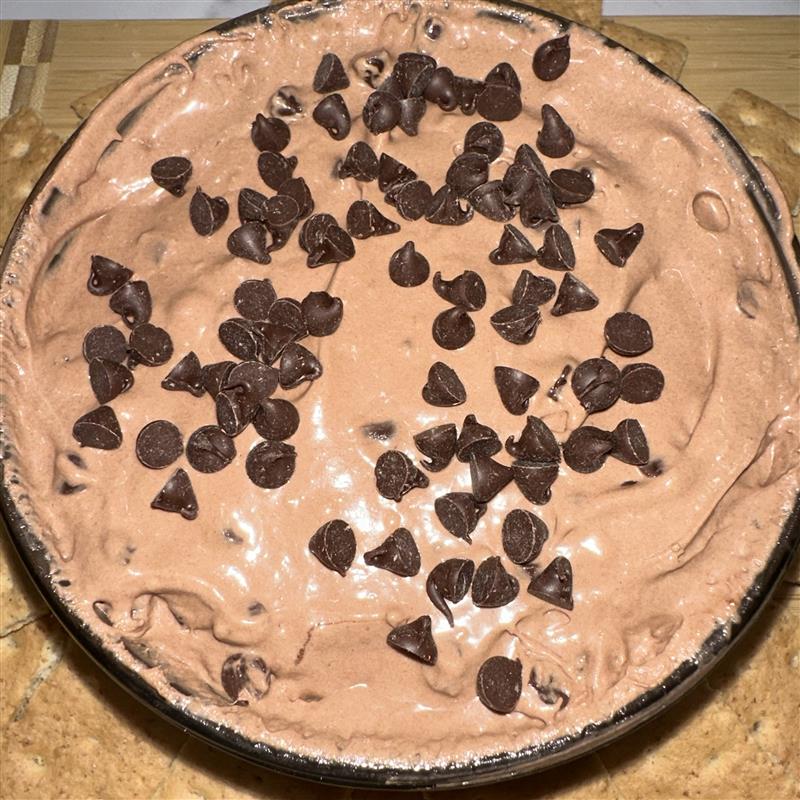
BROWNIE BATTER DIP
This delicious and easy recipe is sure to be a crowd favorite at your neighborhood […]
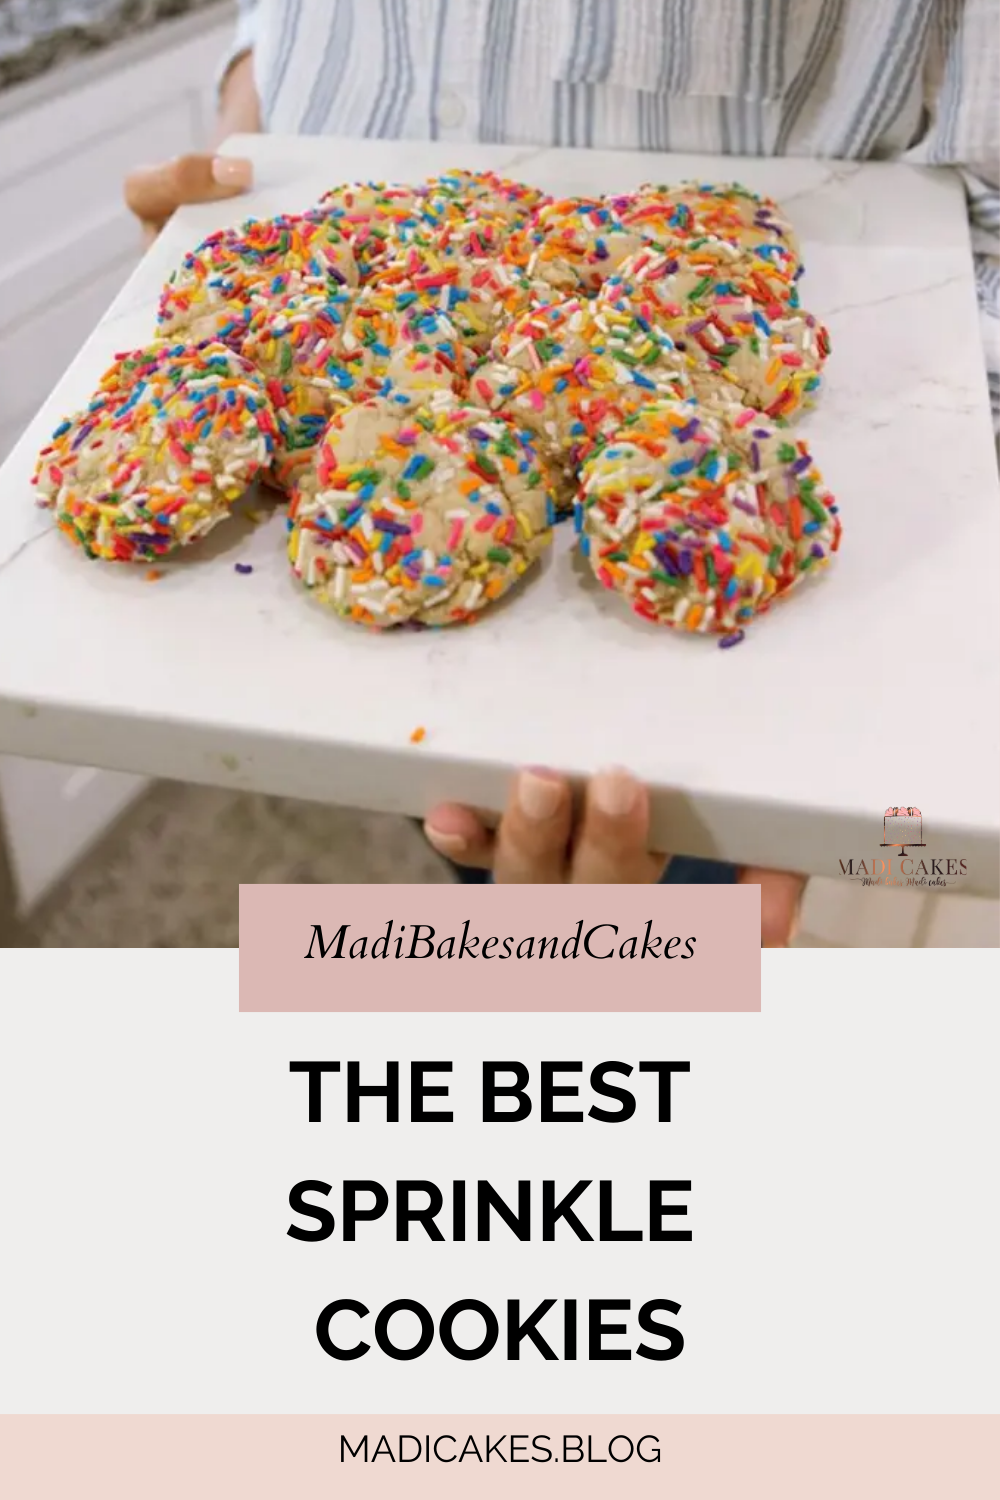
The BEST Sprinkle Cookies
Sharing these easy old-fashioned sprinkle cookie Recipe. This is a recipe straight out of my […]
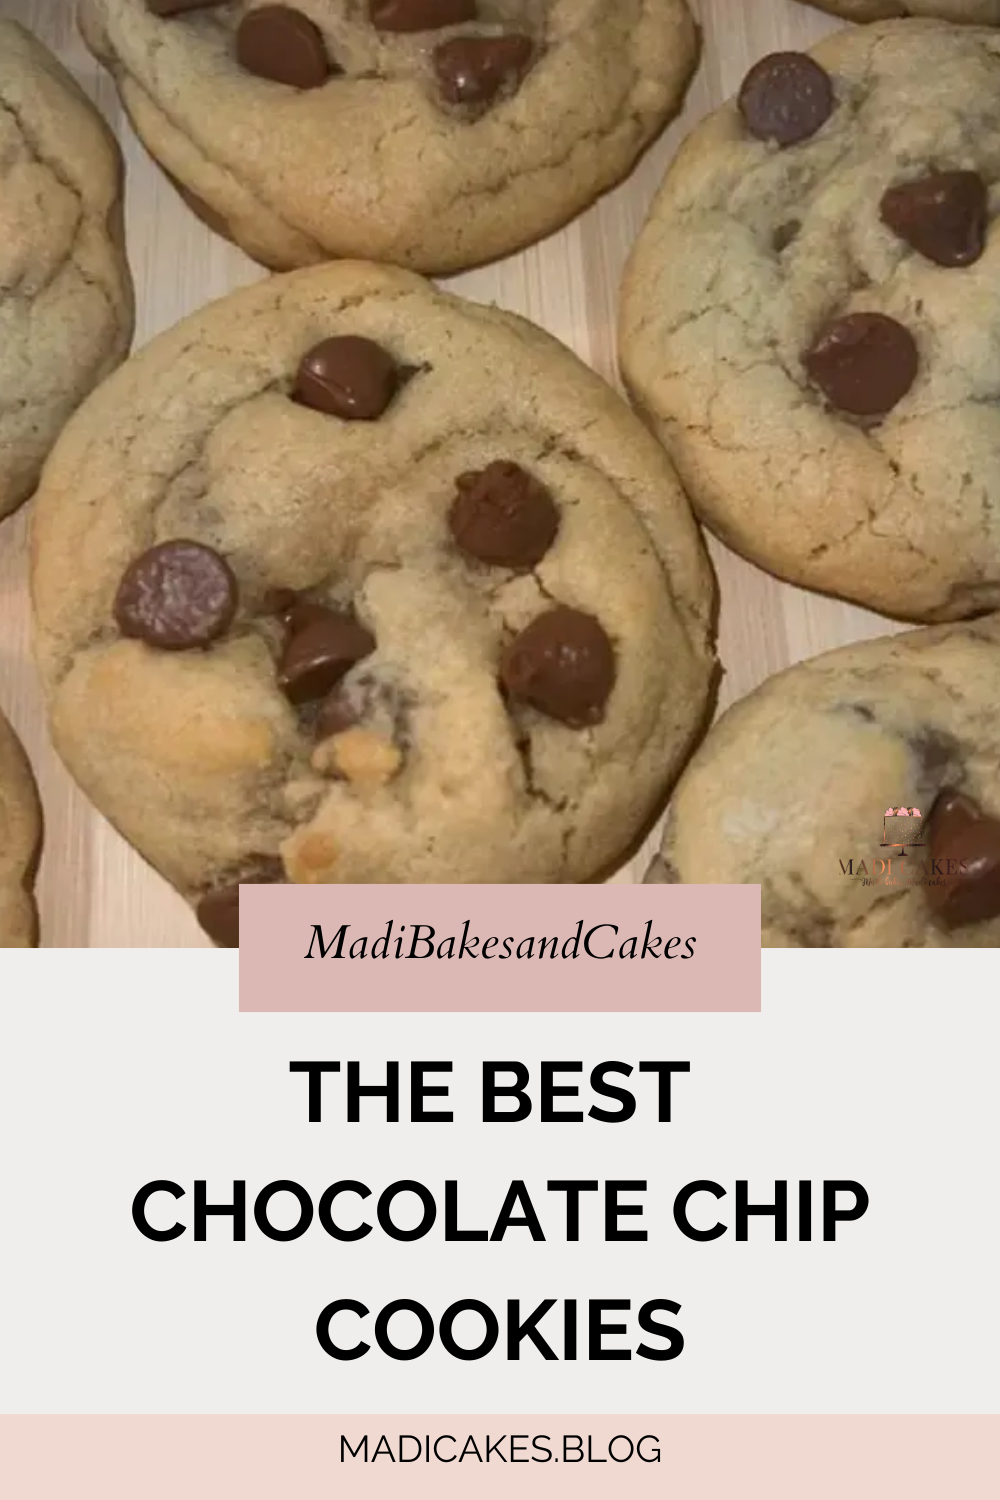
The BEST Chocolate Chip Cookies
As my first official recipe posted, it only seems fitting that it would be my […]