
A delicious and easy twist on my classic Chocolate Chip Cookie recipe! These cookies are […]
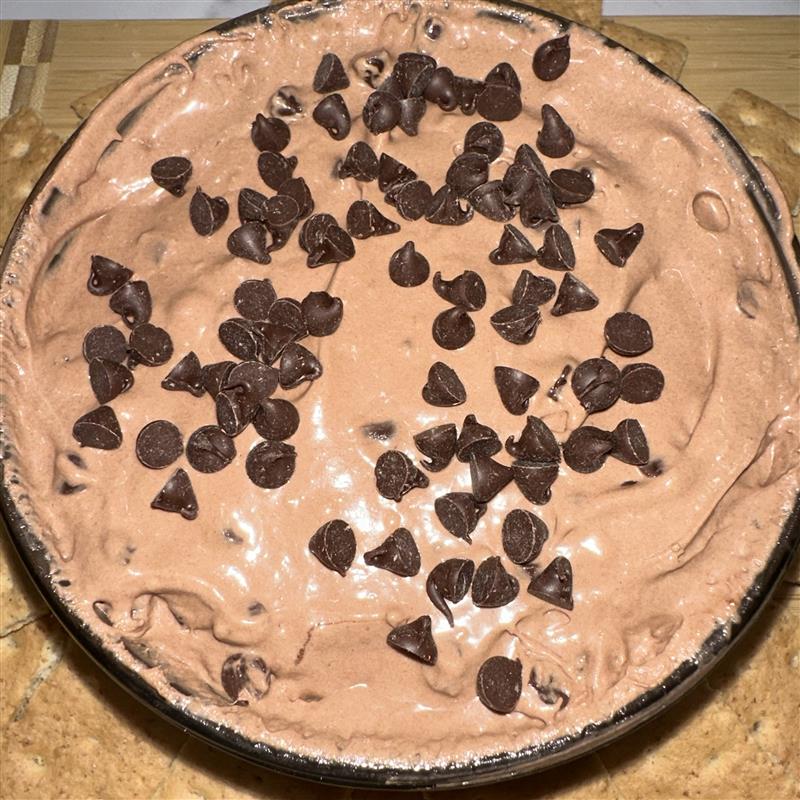
BROWNIE BATTER DIP
This delicious and easy recipe is sure to be a crowd favorite at your neighborhood […]
A delicious and easy twist on my classic Chocolate Chip Cookie recipe! These cookies are […]
This delicious and easy recipe is sure to be a crowd favorite at your neighborhood […]