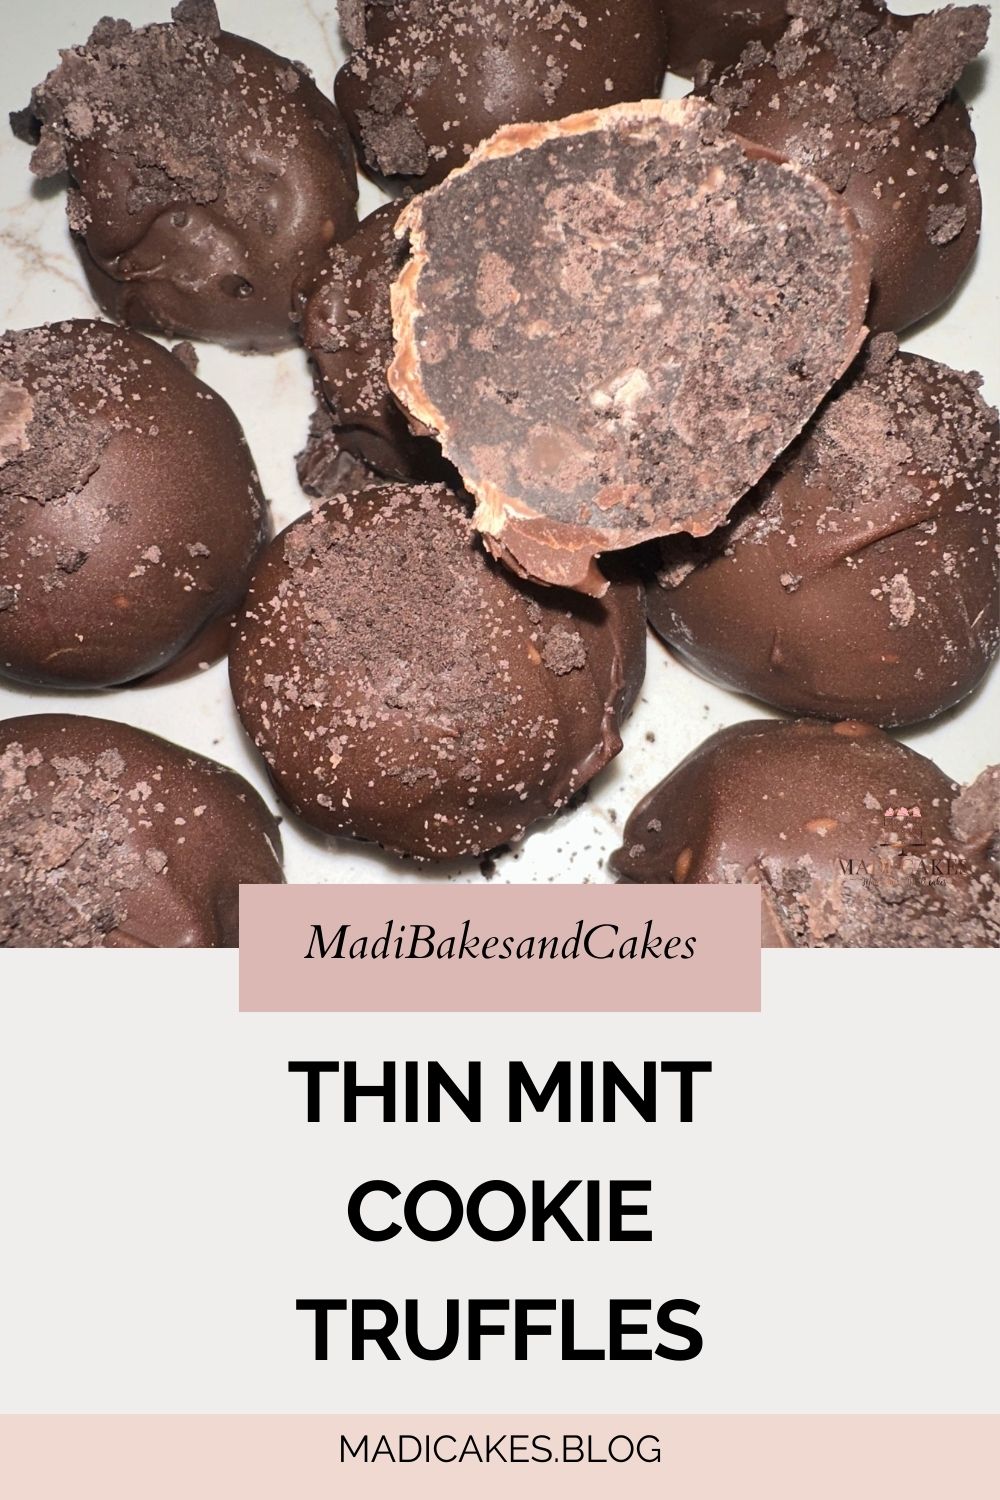
If you love the classic combination of rich chocolate and cool mint, you’re about to […]

Marbled Sugar Cookies
These Marbled Sugar Cookies are a classic sugar cookie Recipe with a fun and festive […]
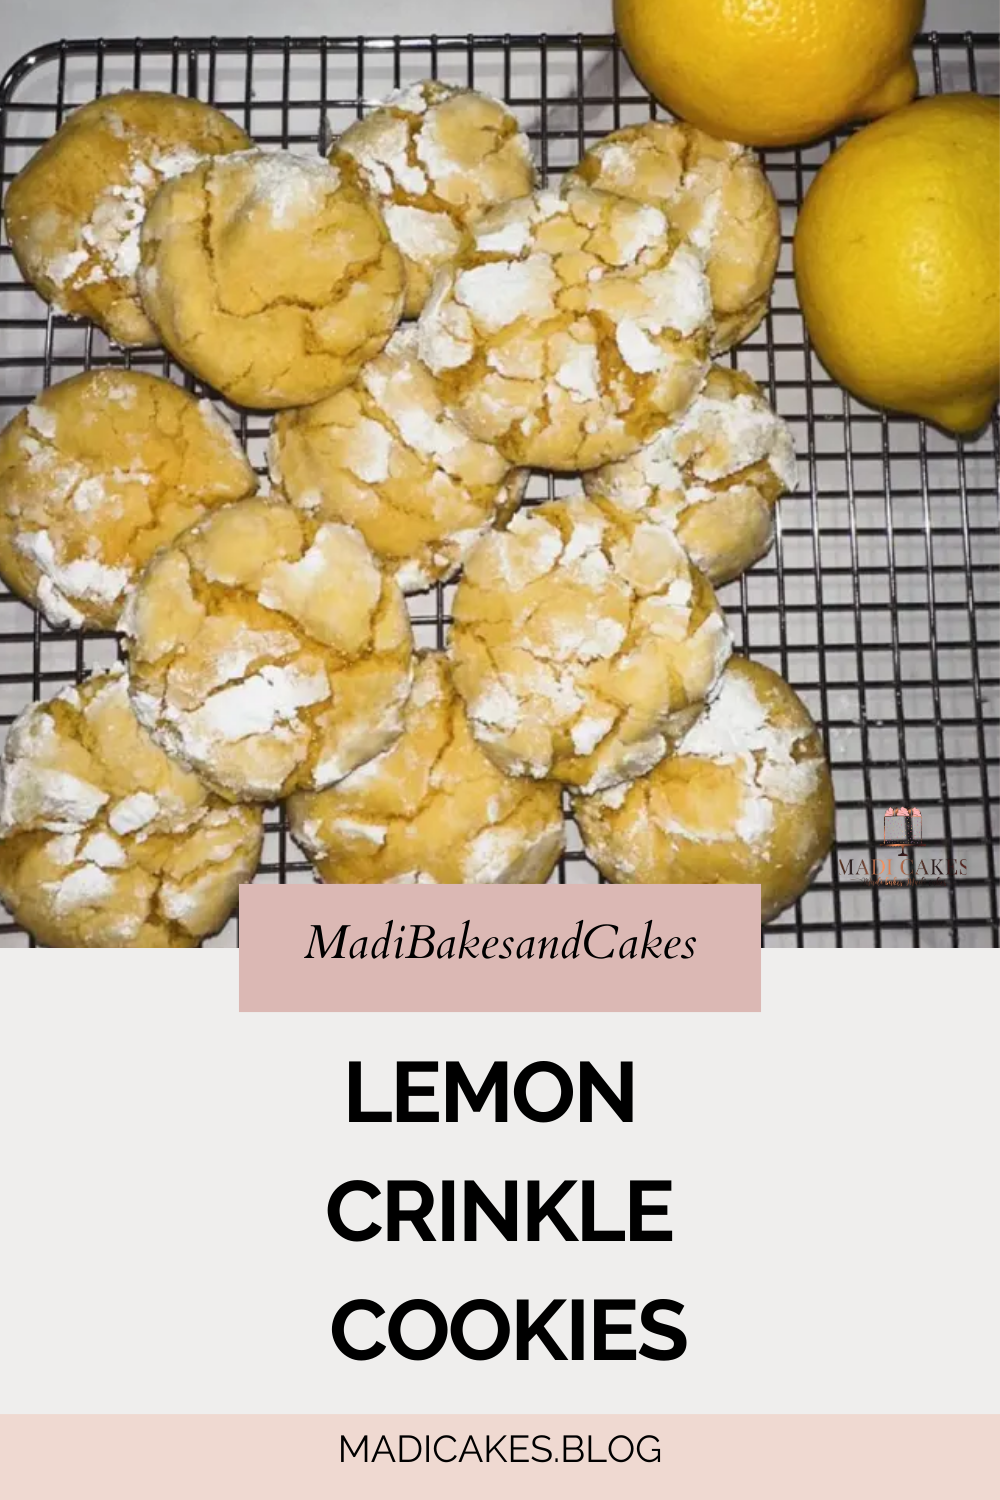
Lemon Crinkle Cookies
These mouth-watering cookies are easy, fluffy and delicious! Coming together in one hour or less, they are sure to make a splash at your end of summer weekend plans! Grab your mixer, gather those ingredients and get to baking!

RASPBERRY CHEESECAKE COOKIES
Sharing a FAVORITE in our house… Raspberry Cheesecake Cookies If Valentine’s Day had an official […]
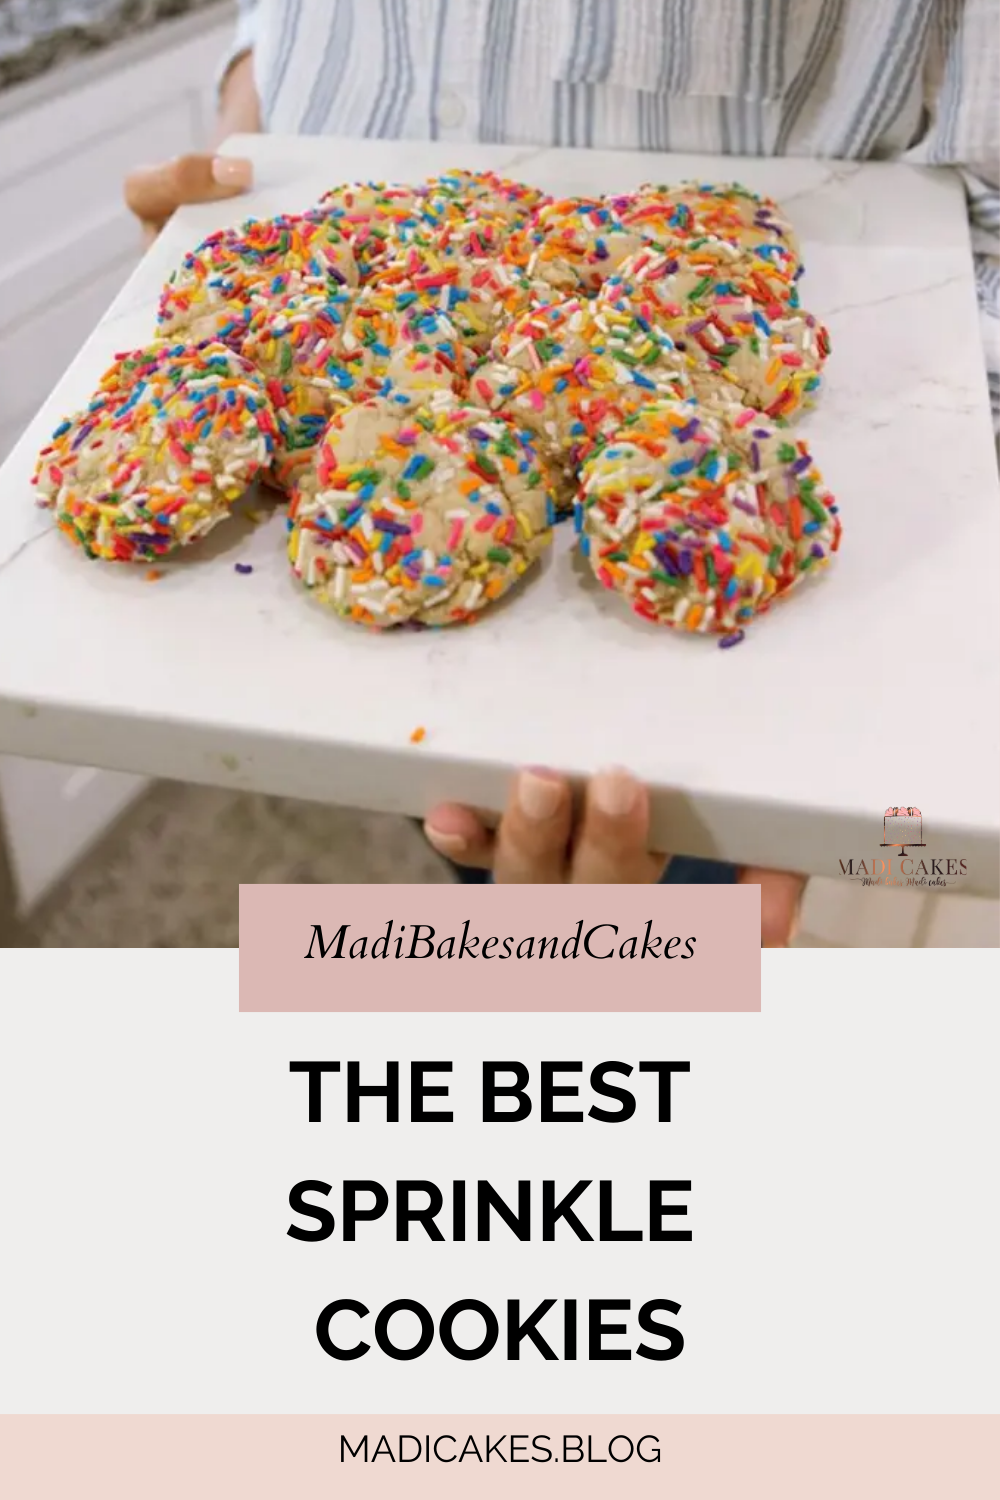
The BEST Sprinkle Cookies
Sharing these easy old-fashioned sprinkle cookie Recipe. This is a recipe straight out of my […]