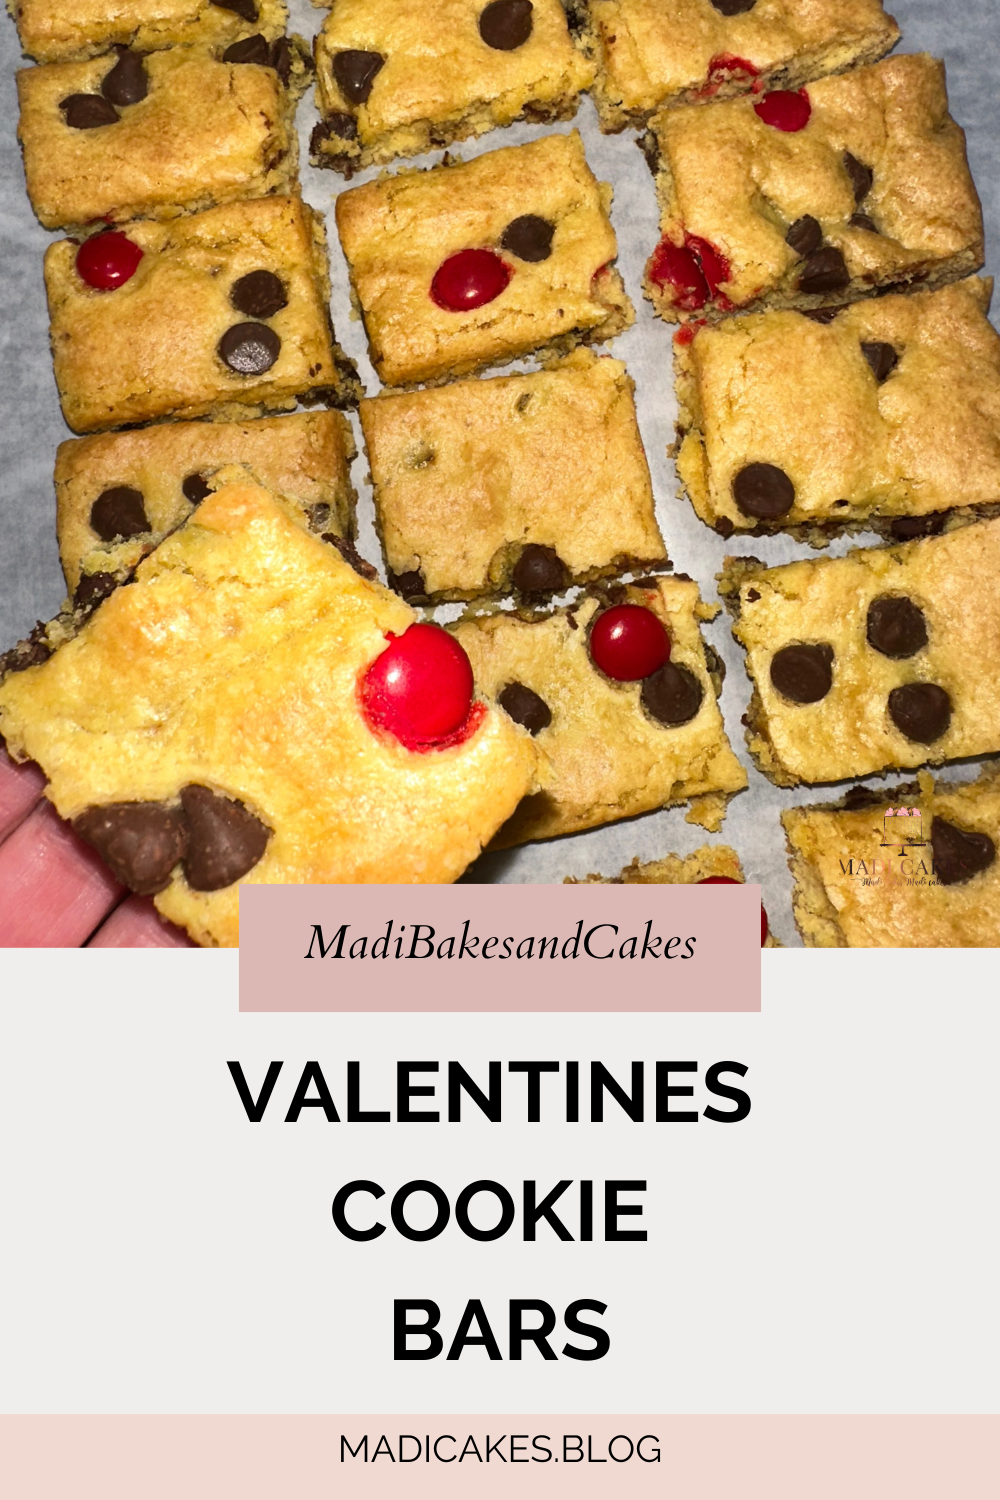
Flowers fade… Candy boxes get forgotten… But a soft, chewy Valentine’s Cookie Bar? That’s memorable! […]
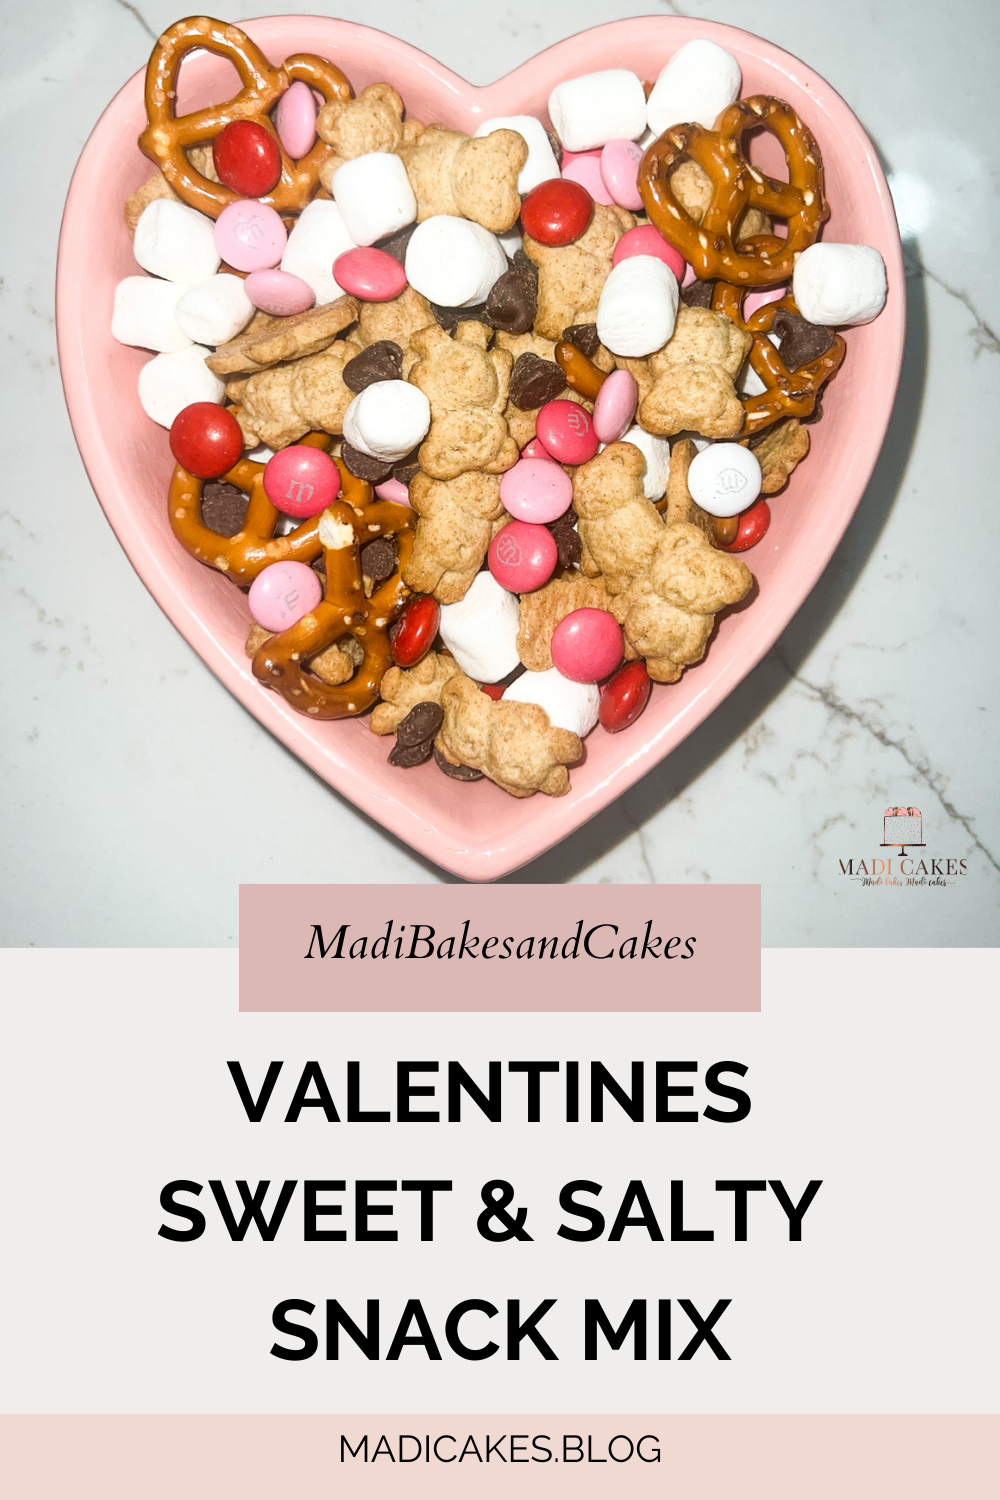
Valentines Sweet & Salty Snack Mix
Are you looking for a fun and festive little sweet snack to cure those afternoon […]
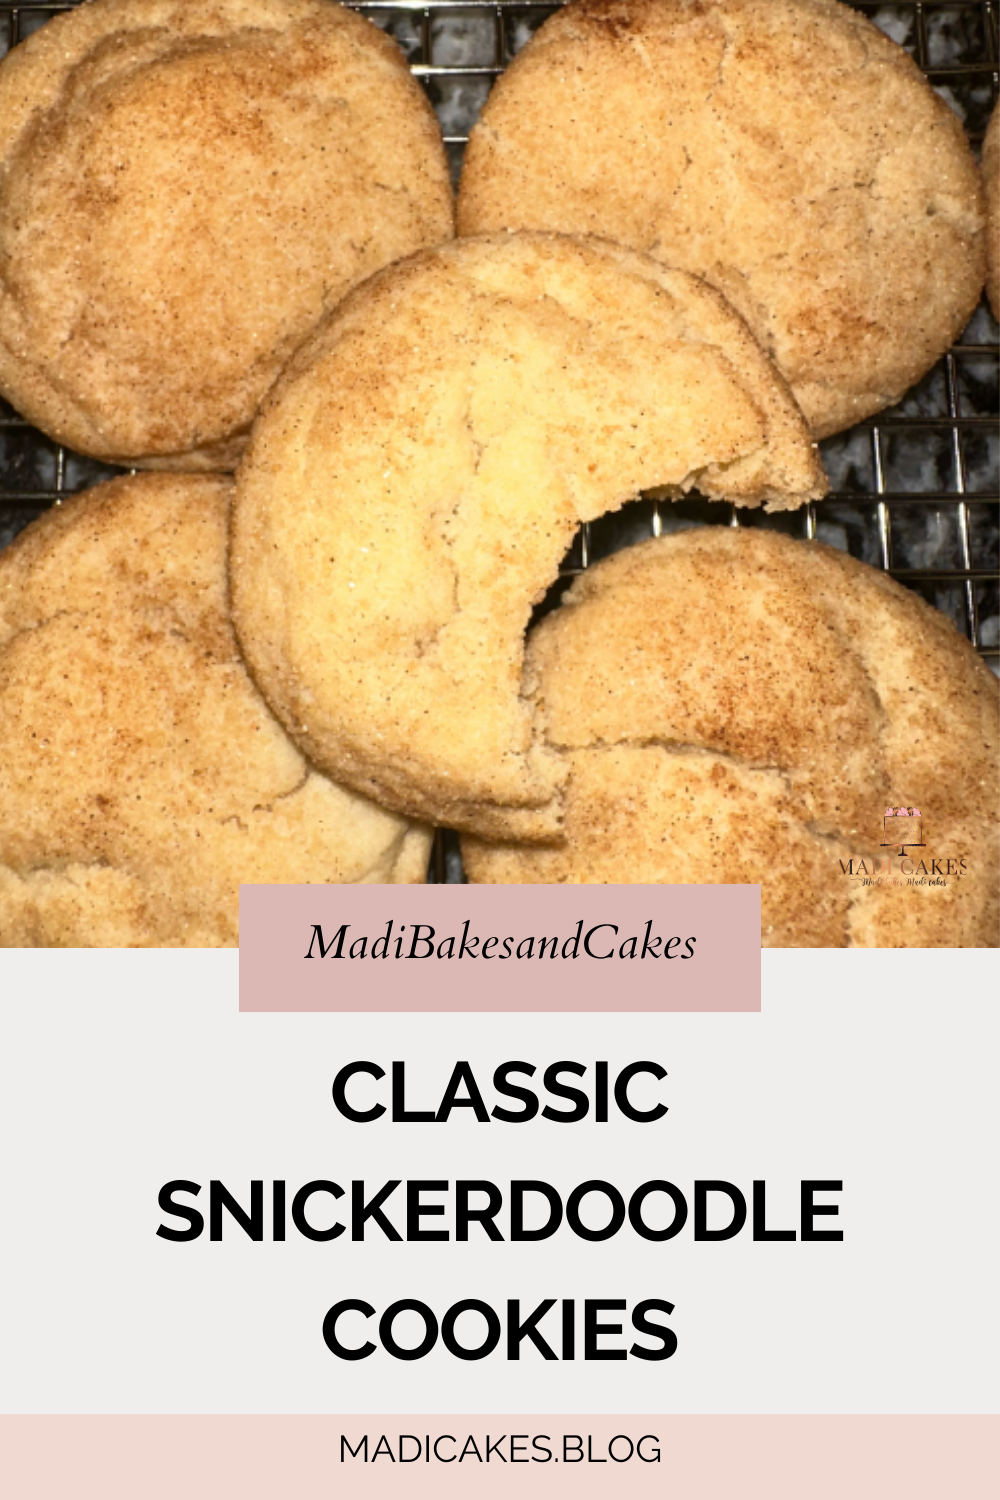
Classic Snickerdoodle Cookies
Snickerdoodles are a timeless cookie favorite. Soft, chewy, and coated in cinnamon sugar, they’re simple […]
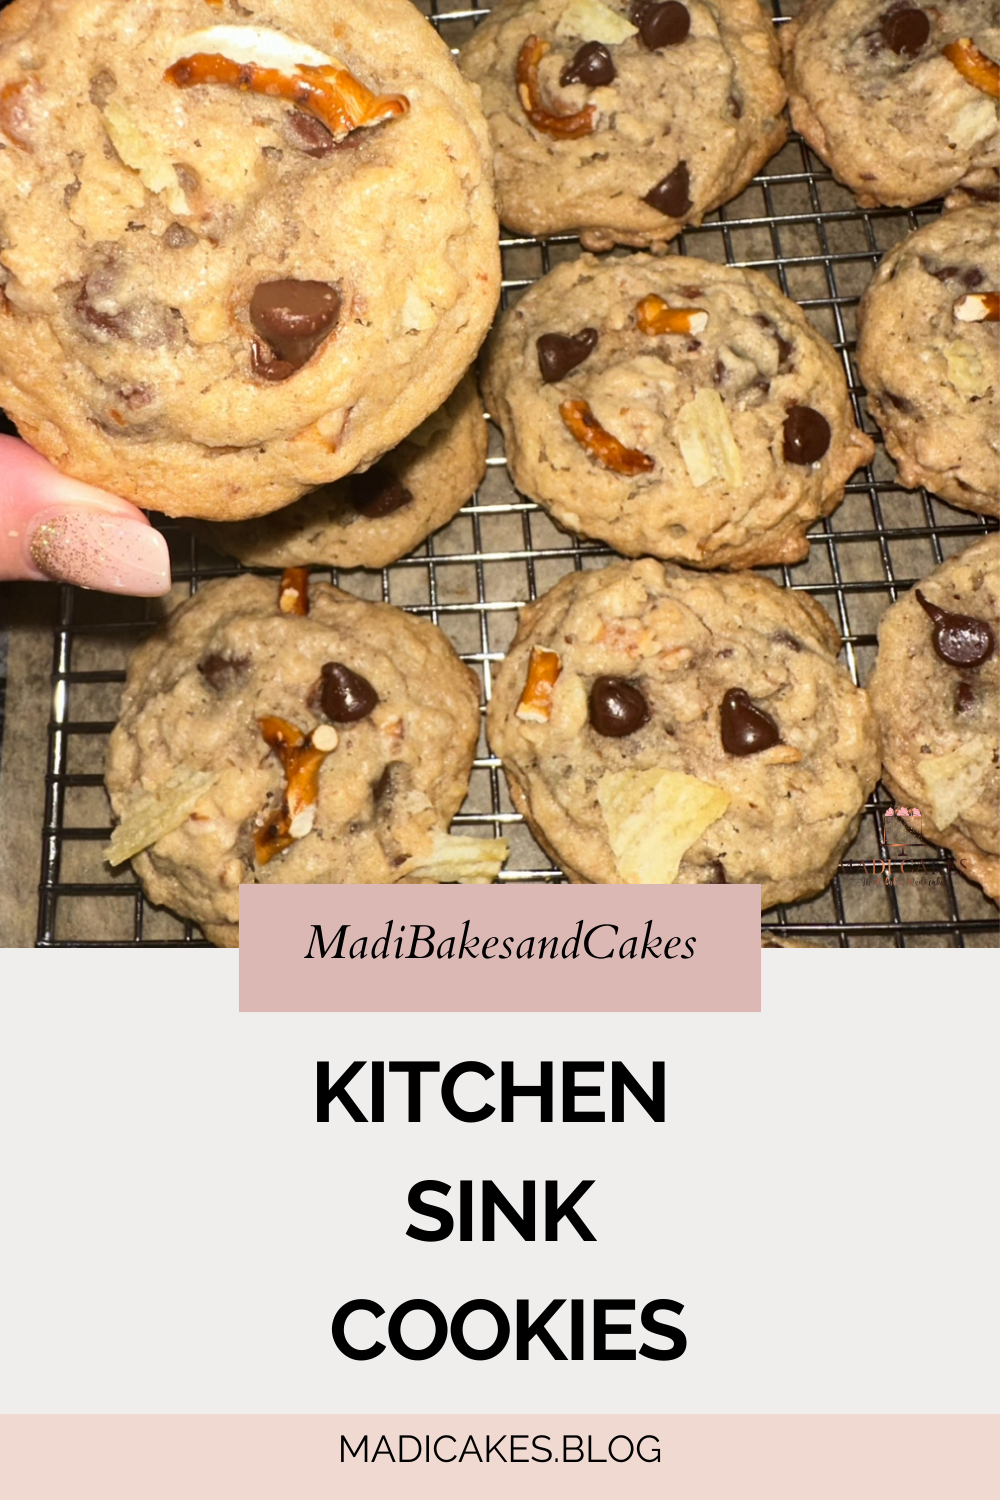
Kitchen Sink Cookies
Are you looking for a delicious cookie recipe using only the contents of your pantry? […]
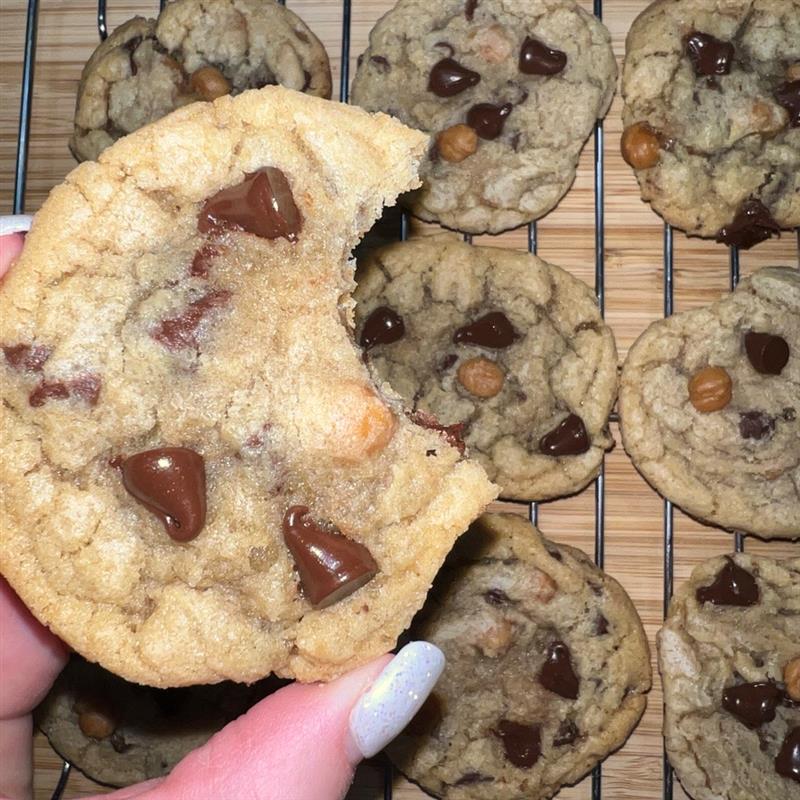
CARAMEL CHOCOLATE CHIP COOKIES
A delicious and easy twist on my classic Chocolate Chip Cookie recipe! These cookies are […]
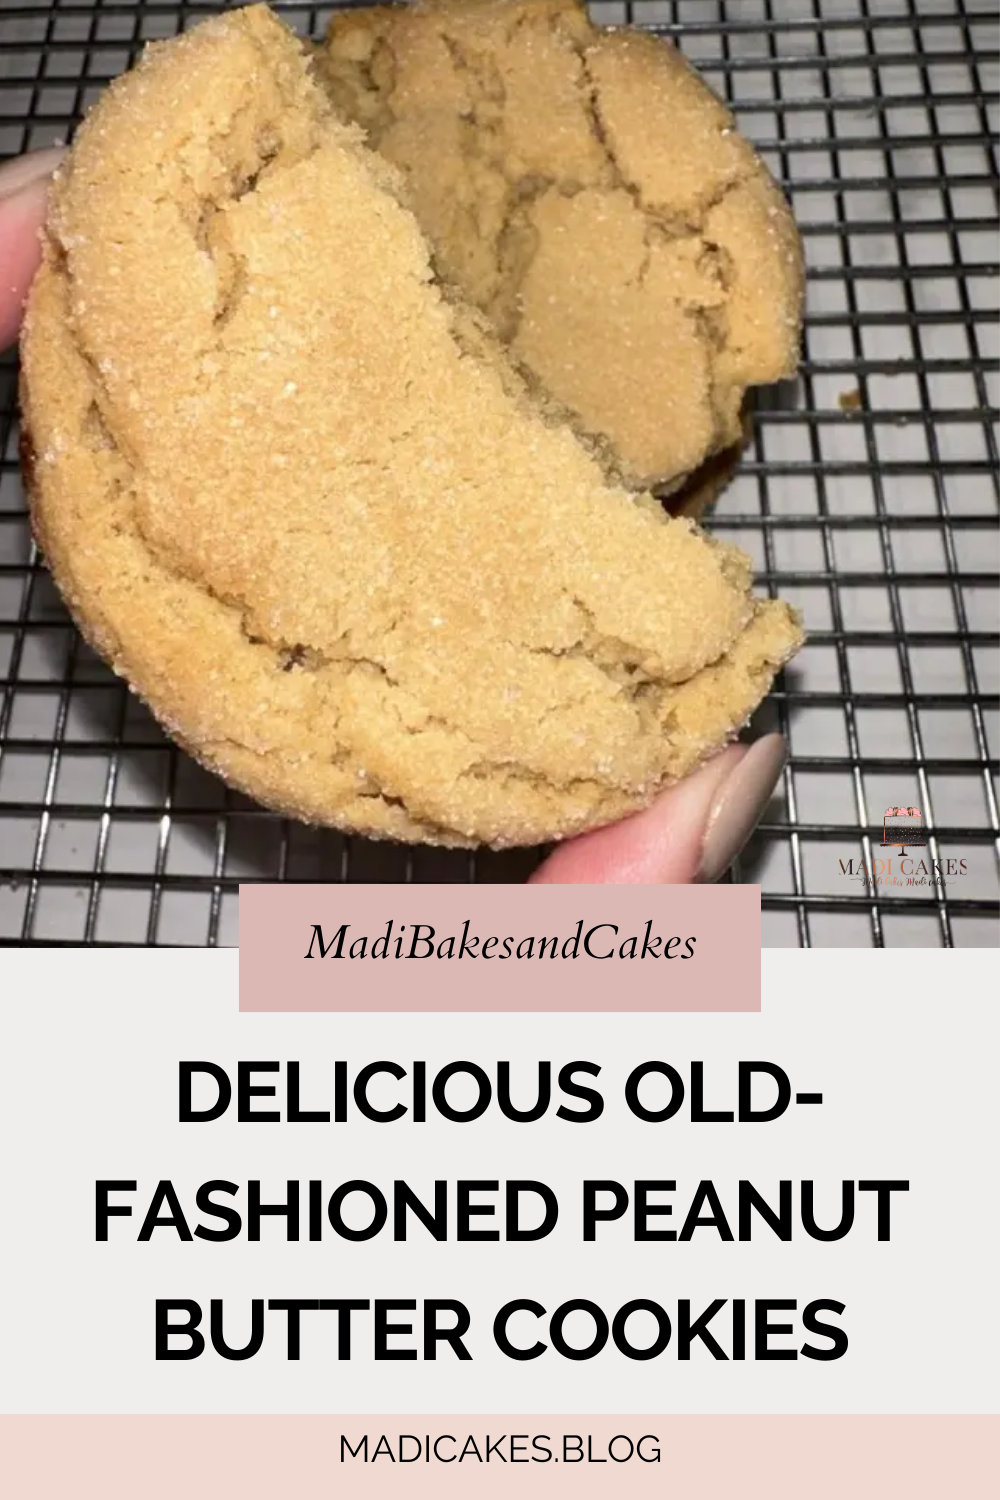
Delicious Old-Fashioned Peanut Butter Cookies Recipe
You will love these delicious, old-fashioned peanut butter cookies! They are filled with peanuty goodness […]
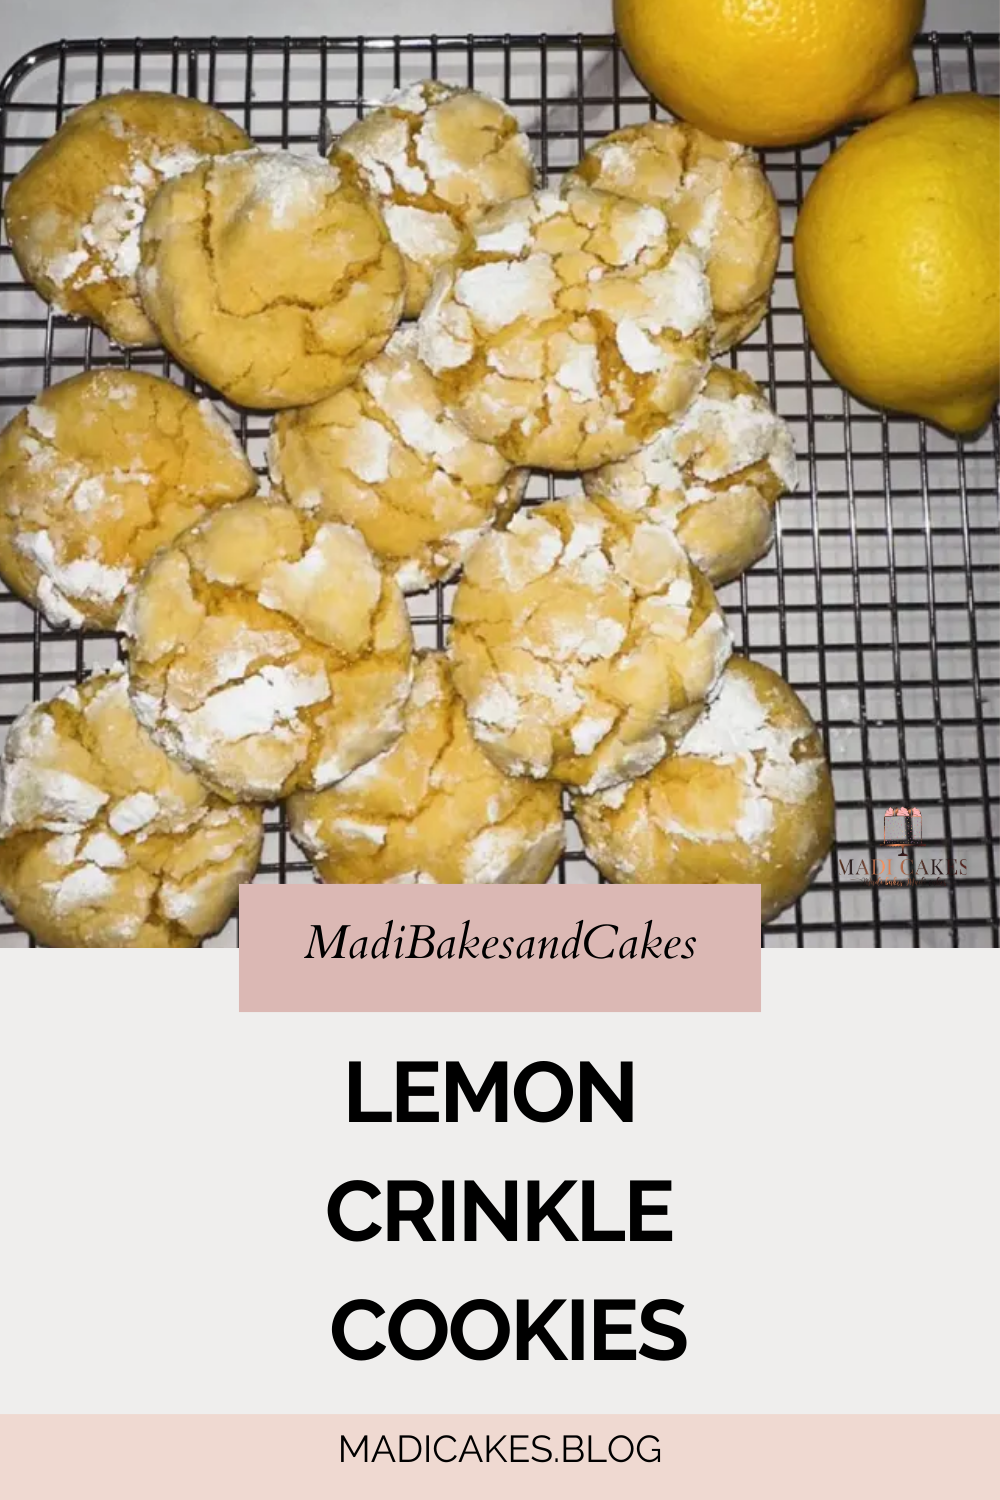
Lemon Crinkle Cookies
These mouth-watering cookies are easy, fluffy and delicious! Coming together in one hour or less, they are sure to make a splash at your end of summer weekend plans! Grab your mixer, gather those ingredients and get to baking!
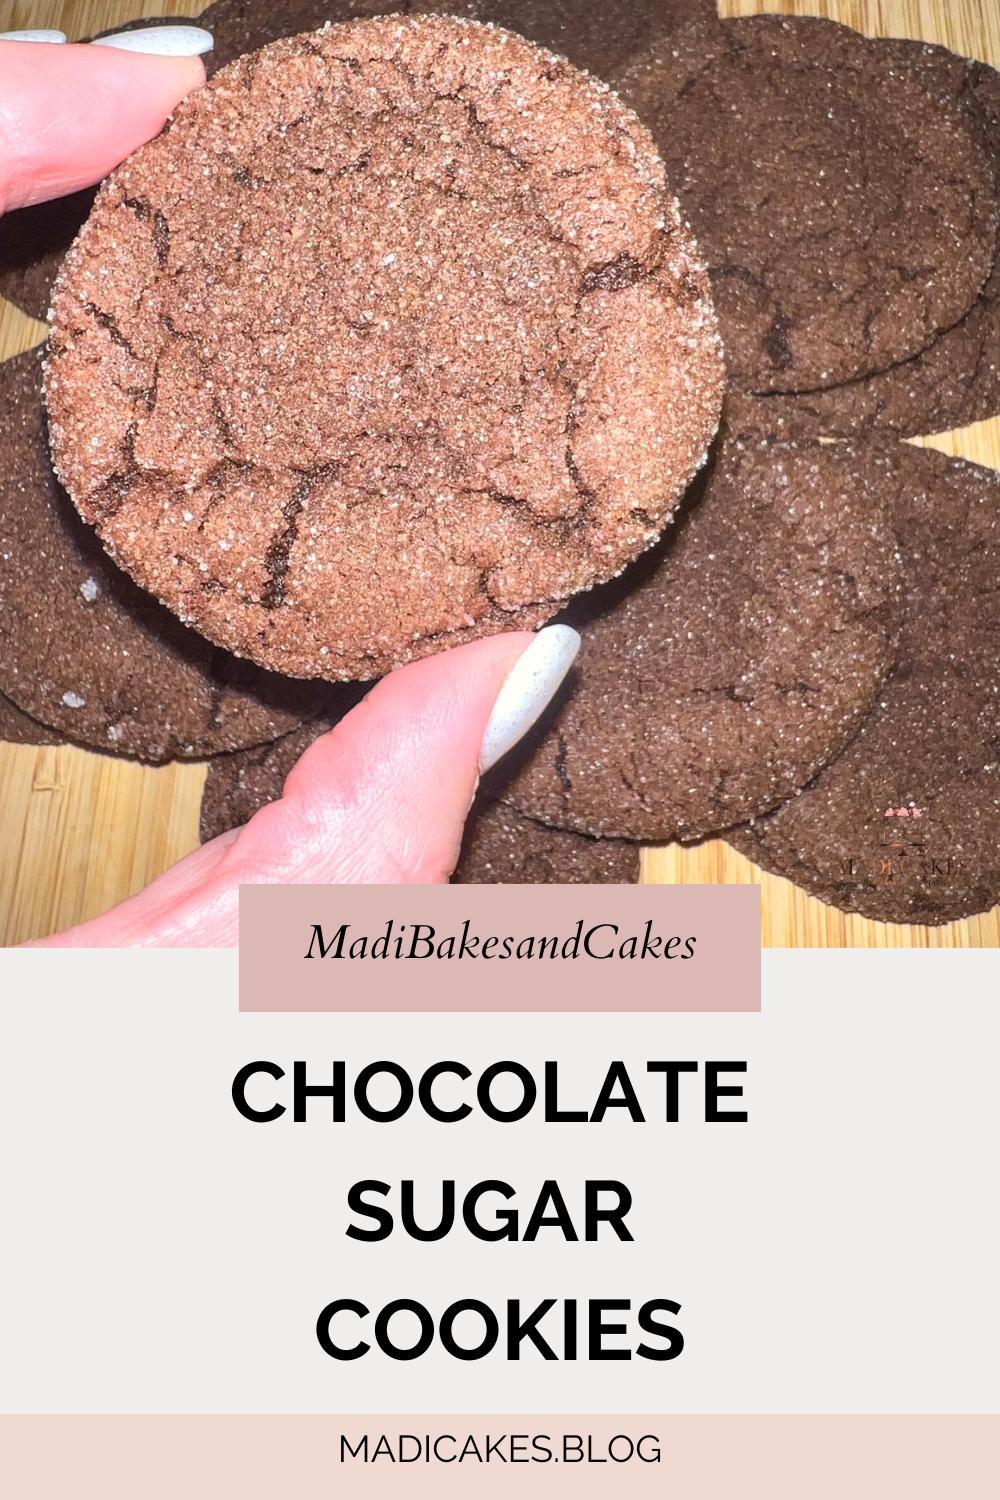
CHOCOLATE SUGAR COOKIES
Sharing this delicious twist on a classic sugar cookie recipe… Chocolate Sugar Cookies! Have you […]
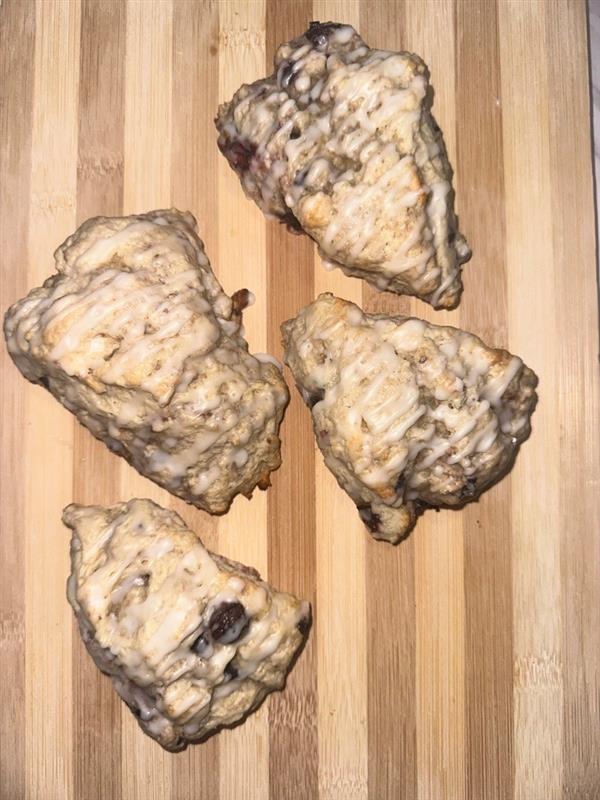
Classic Blueberry Scones
Sharing a FAVORITE in our family… classic blueberry scones. This recipe takes a bit of […]
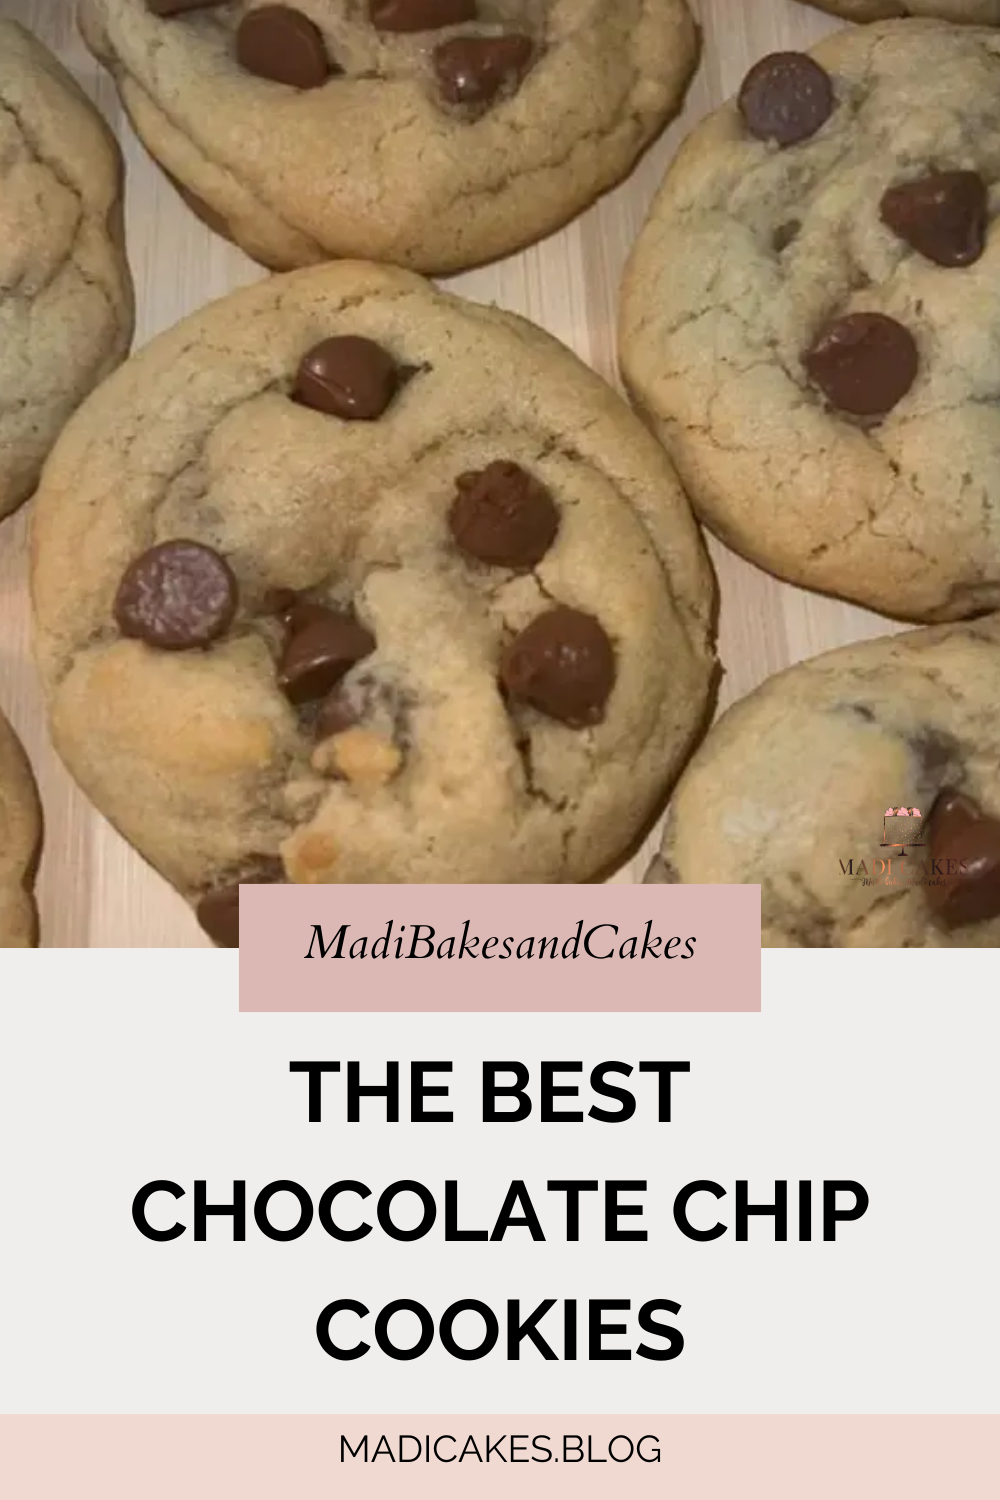
The BEST Chocolate Chip Cookies
As my first official recipe posted, it only seems fitting that it would be my […]