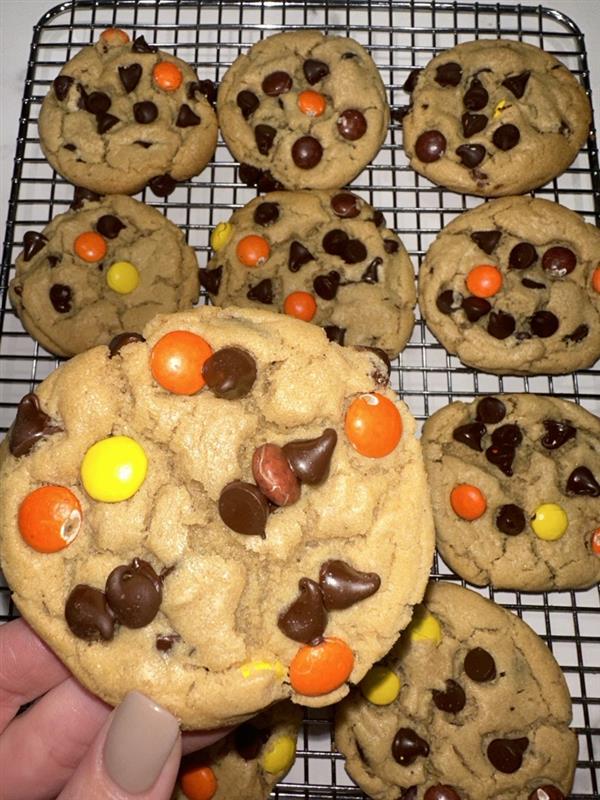
Get ready to light up your taste buds with these incredible easy and delicious, candy-filled […]
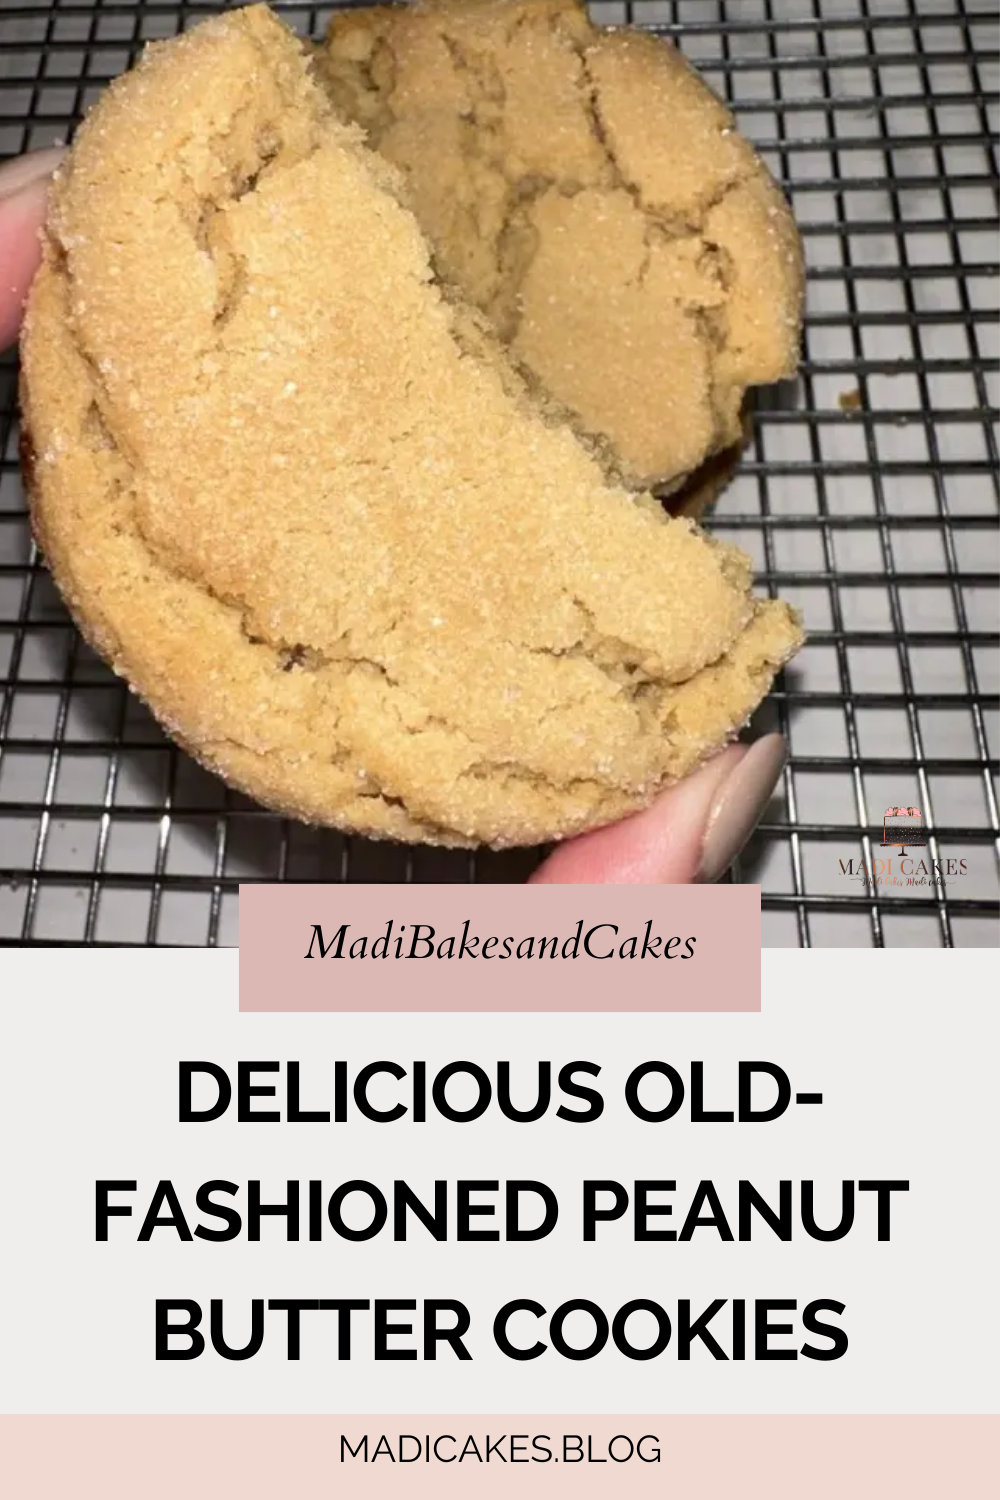
Delicious Old-Fashioned Peanut Butter Cookies Recipe
You will love these delicious, old-fashioned peanut butter cookies! They are filled with peanuty goodness […]
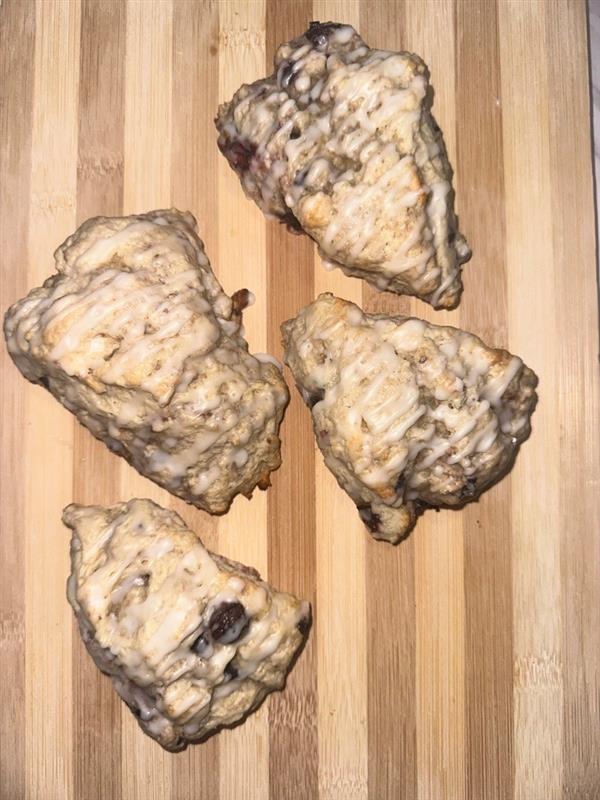
Classic Blueberry Scones
Sharing a FAVORITE in our family… classic blueberry scones. This recipe takes a bit of […]