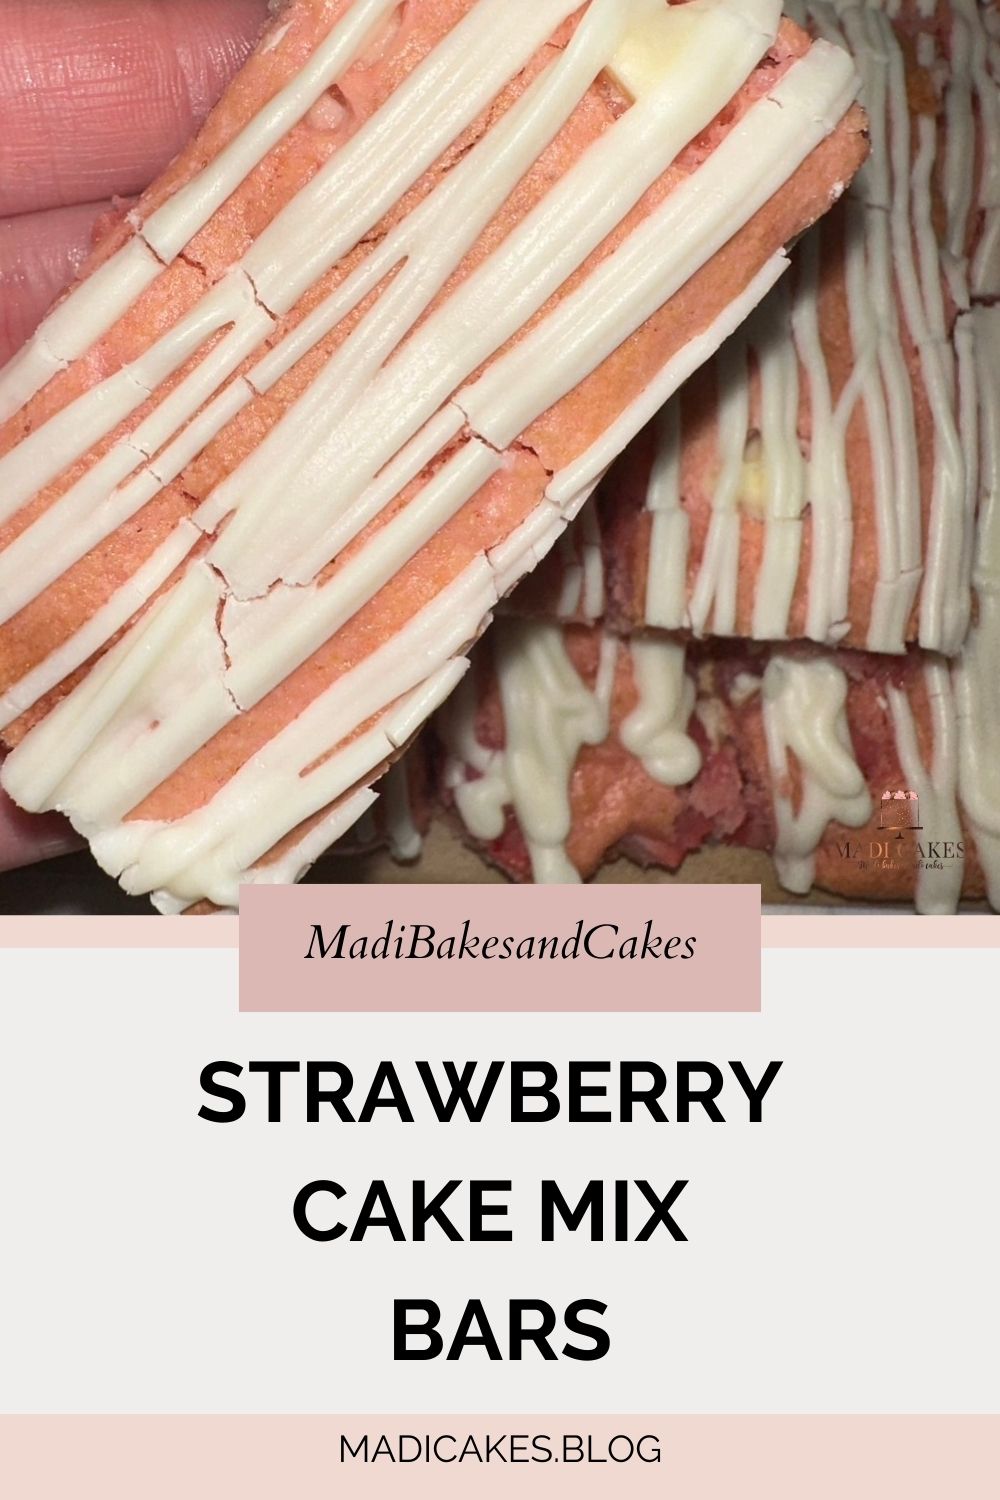
If you are a lover of strawberry sweets that come together in the blink of […]
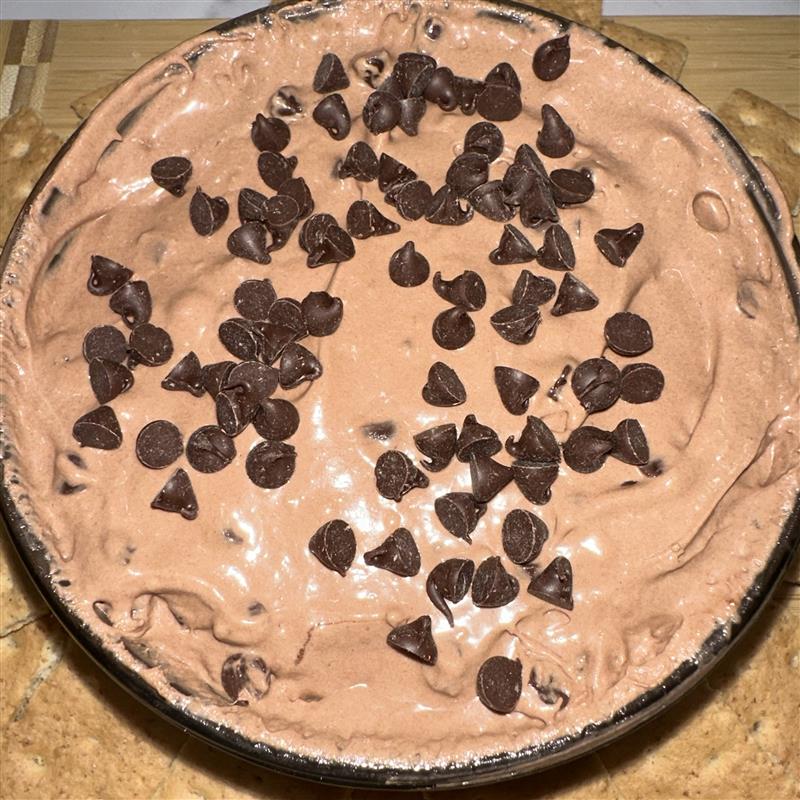
BROWNIE BATTER DIP
This delicious and easy recipe is sure to be a crowd favorite at your neighborhood […]
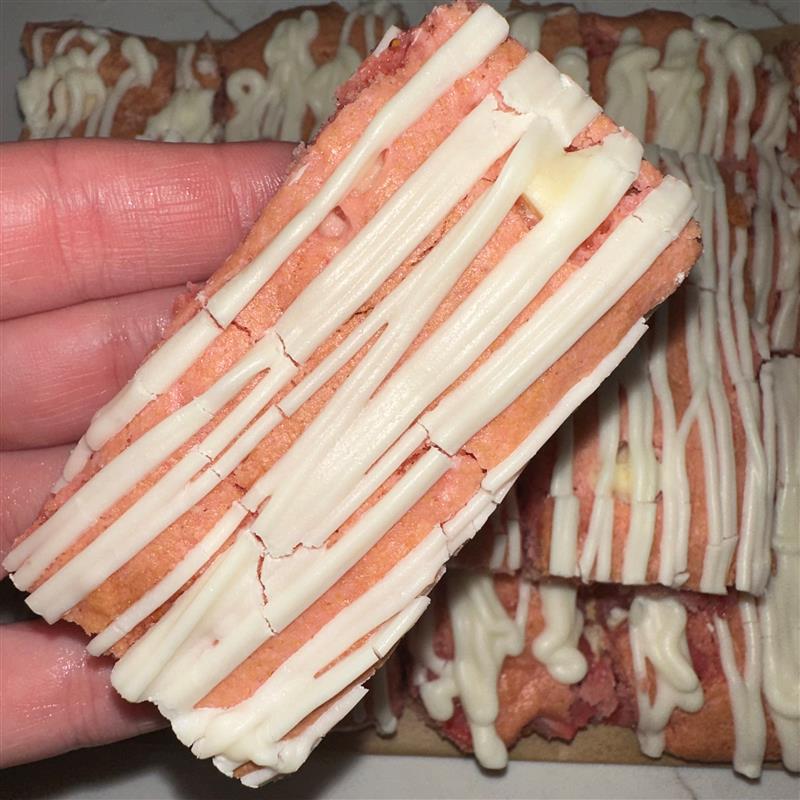
STRAWBERRY COOKIE BARS
Sharing a DELICIOUS new treat today… STRAWBERRY CAKE MIX COOKIE BARS! This recipe is easy […]